
Prints of all sizes are headed out the door, just in time for the 2016 holidays.
Prints of all sizes are headed out the door, just in time for the 2016 holidays.

December 4
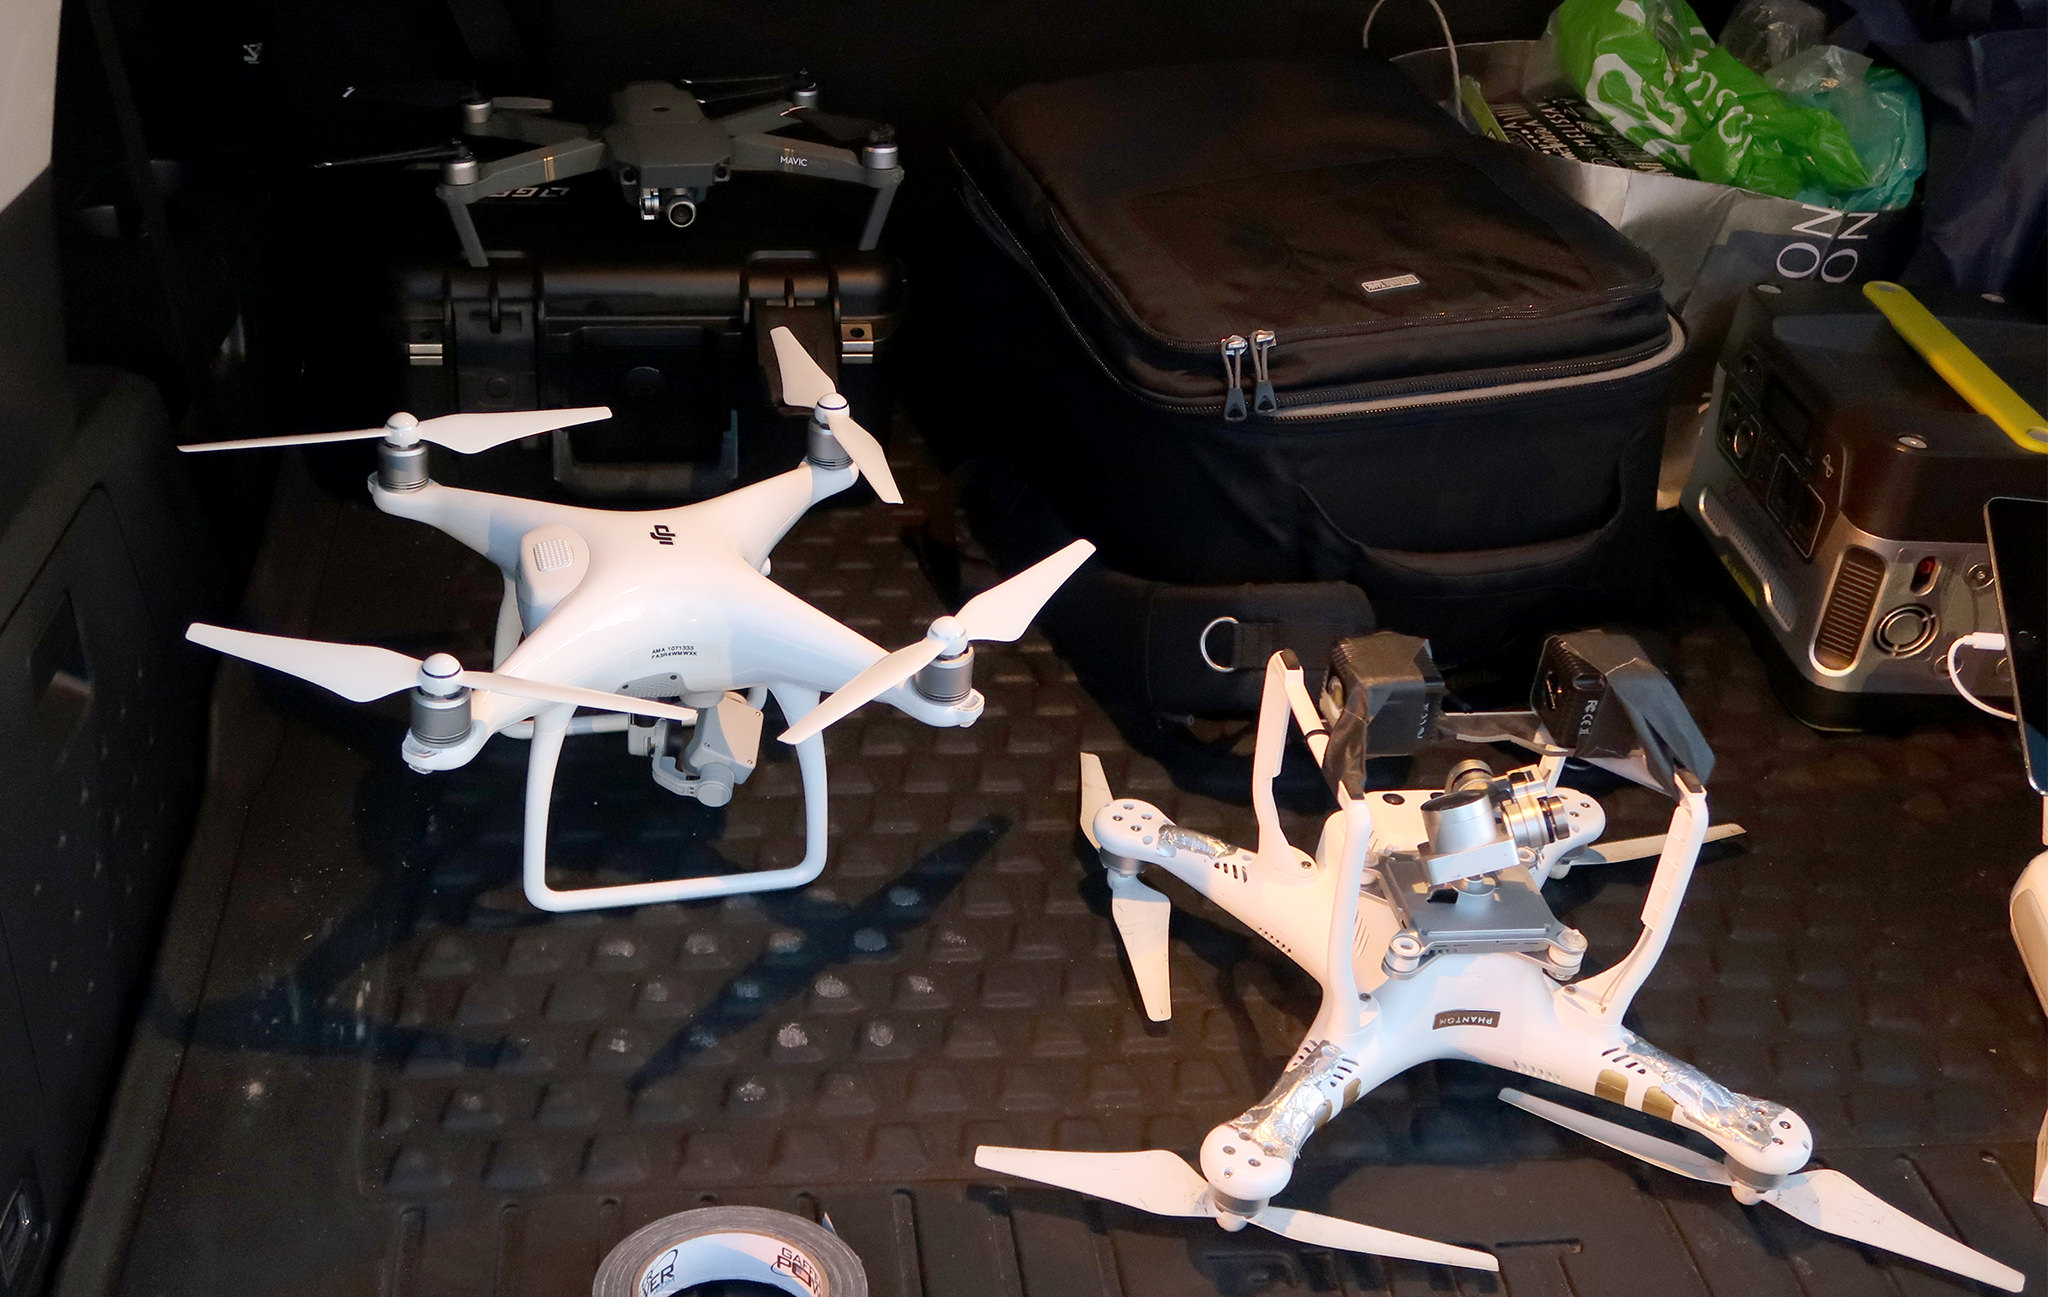
I've been traveling weekly between San Diego and San Jose for work. This time around, I brought the DJI Mavic Pro with me in my laptop/camera bag. I packed this single bag full of camera gear, clothes for 2.5 days and 2 Macbook Pros. The weight of the bag was pretty significant, but nothing out of the ordinary when I travel. I've packed the mavic in my bag before with no issues. This one trip however, things came apart when I got to my hotel to unpack. Before traveling I rolled my Mavic into one of my shirts and placed it into one of the padded compartments. As I began to unpack and unfold my Mavic, one of the legs was cracked off and dangling by the antenna. I never thought that this would happen!!!! Below is a photo of the cracked off Mavic leg and the antenna that goes inside of the leg.
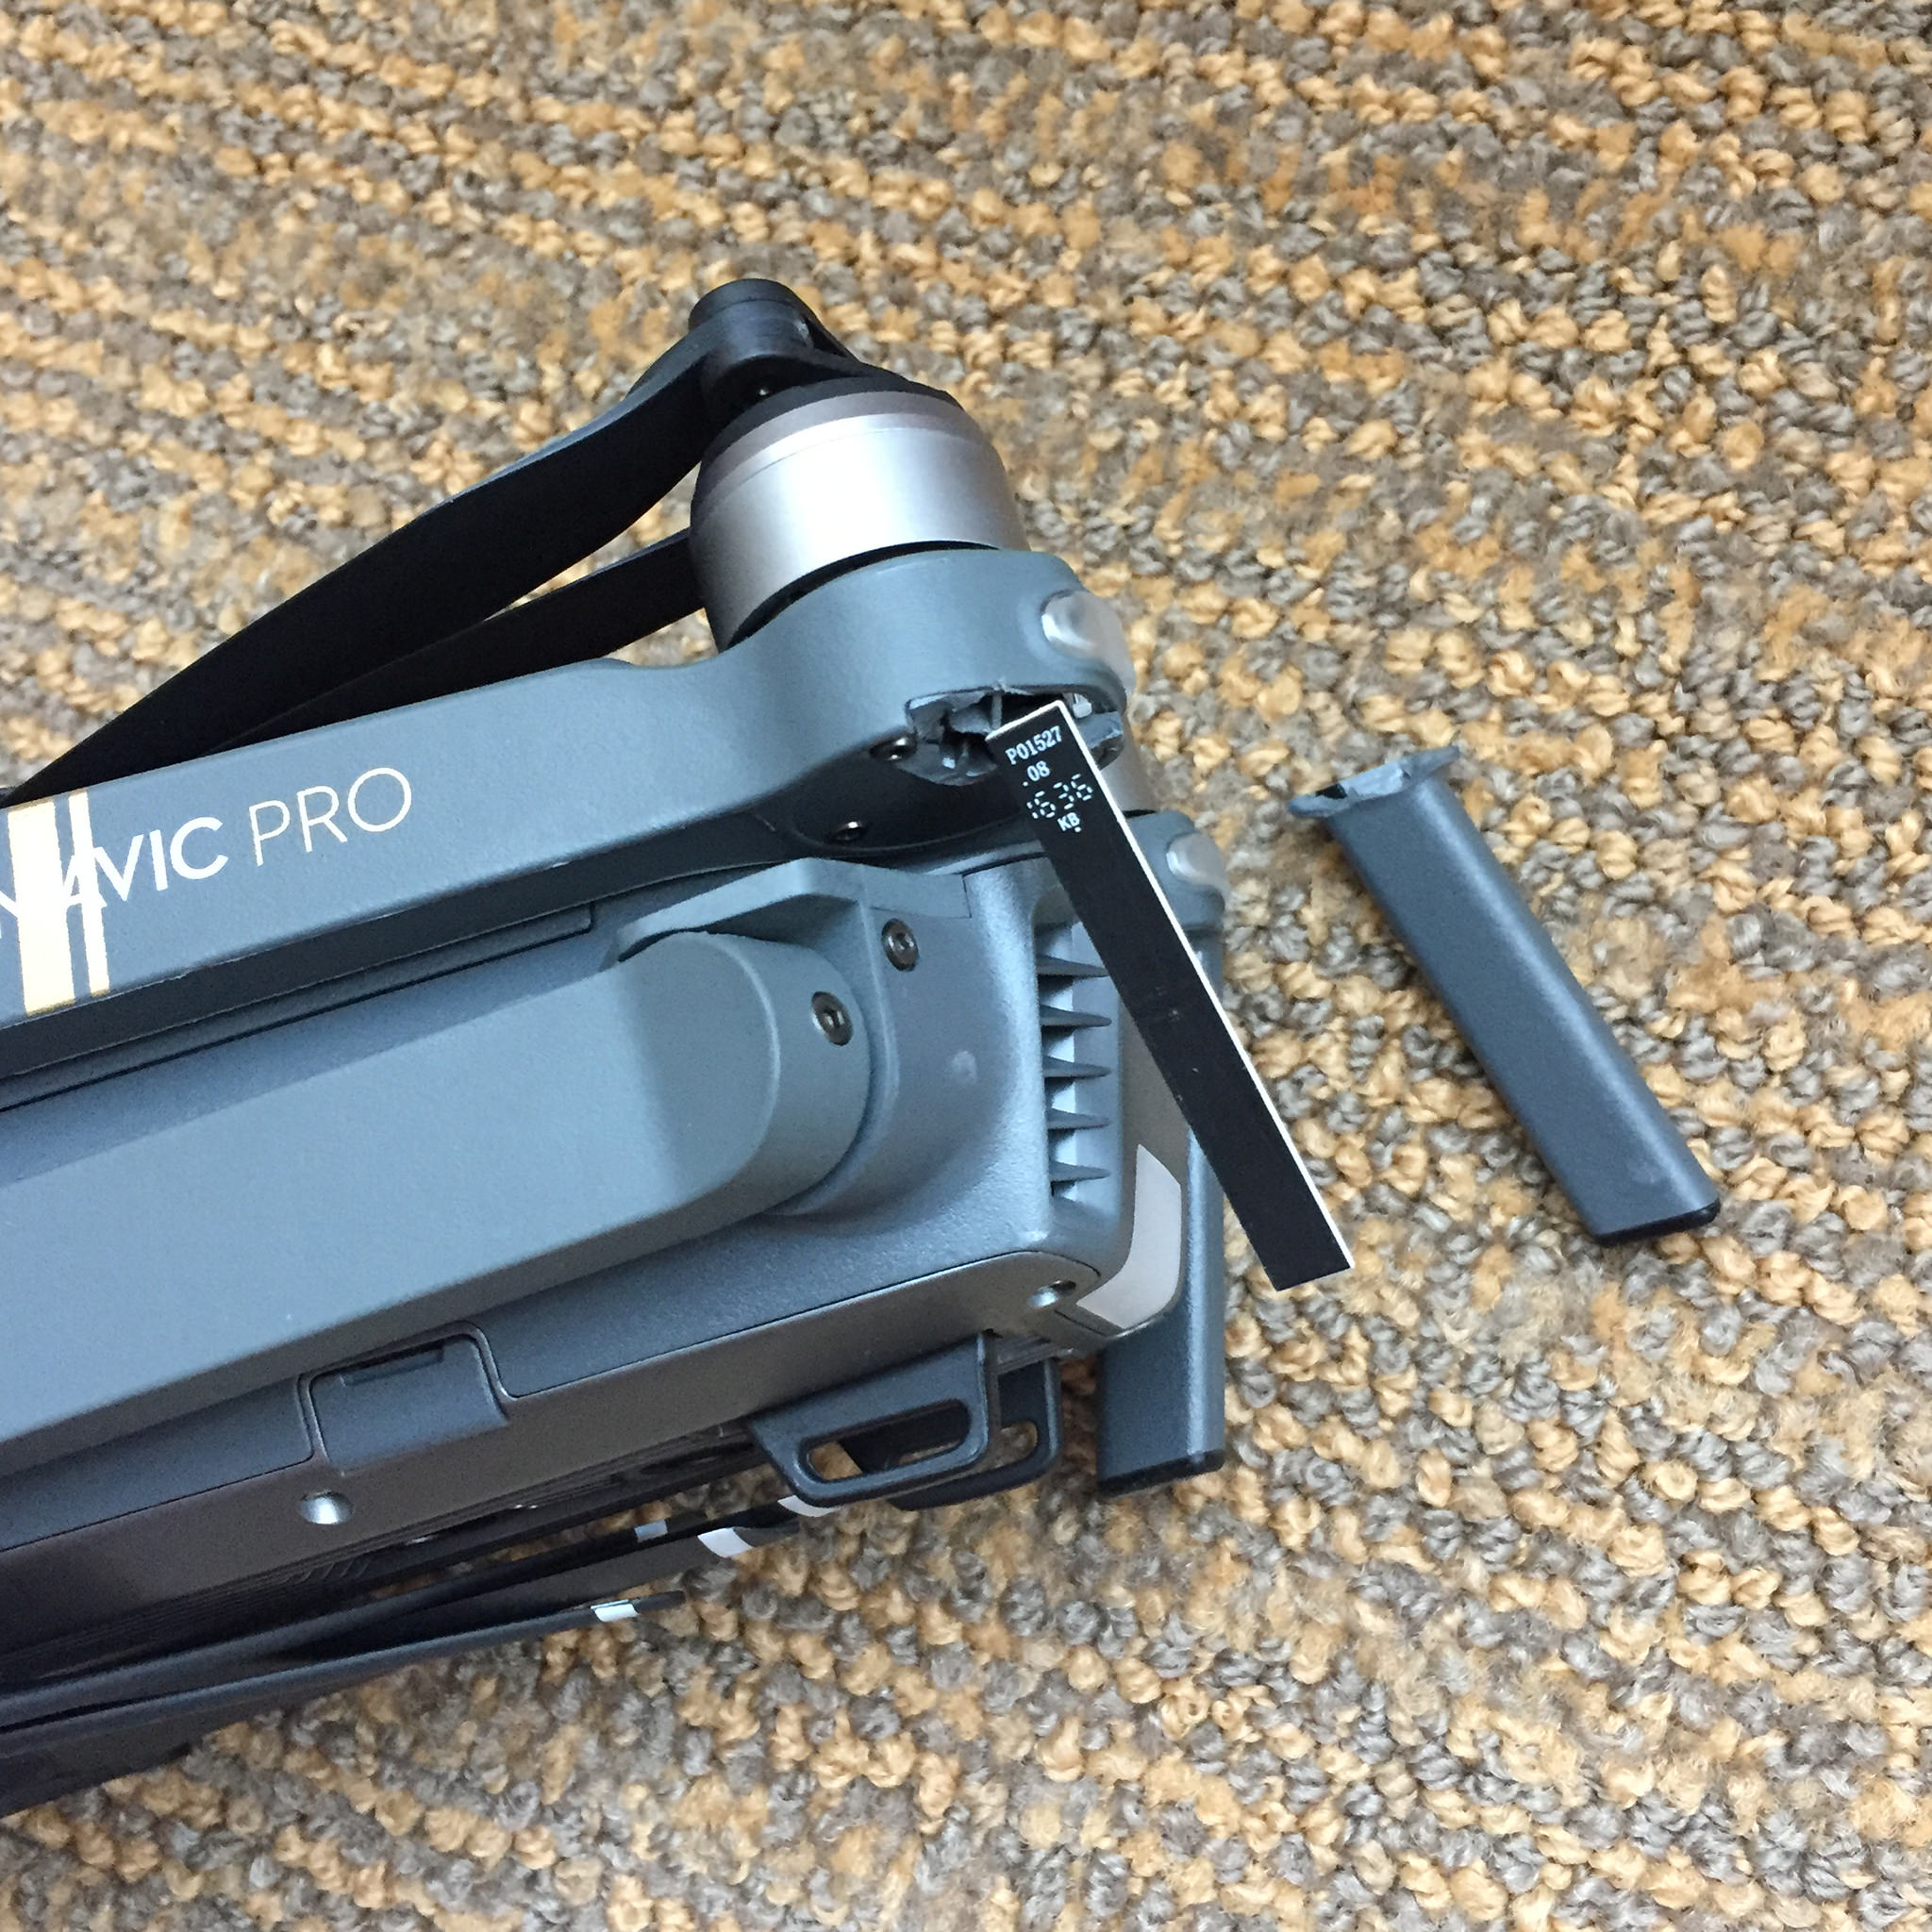
I was of course in total shock that this happened. The only thing I can think of is that some way or some how, there must have be some major pressure in my bag that had been pushing down on one of the legs. Even though this was definitely not the sight I wanted to see as I unpacked, I quickly looked into DJI Repair to get it fixed.
December 5
First thing I did was I logged into DJI.com and navigated to the support tab. I looked for the Live Chat option and chatted with a DJI agent.

I told the agent my situation and they looked up my DJI Mavic Pro serial number as well asked if I had DJI Referesh. I told him I did have the Refresh program and gave him my Mavic serial number over chat. The agent told me to fill out a Send in for Repair form in order to process the drone into their system. I filled out the 'Send in for Repair' form for my Mavic. Once I submitted my information, DJI said they would review my submission and send me a shipping label to mail back my Mavic.

December 6
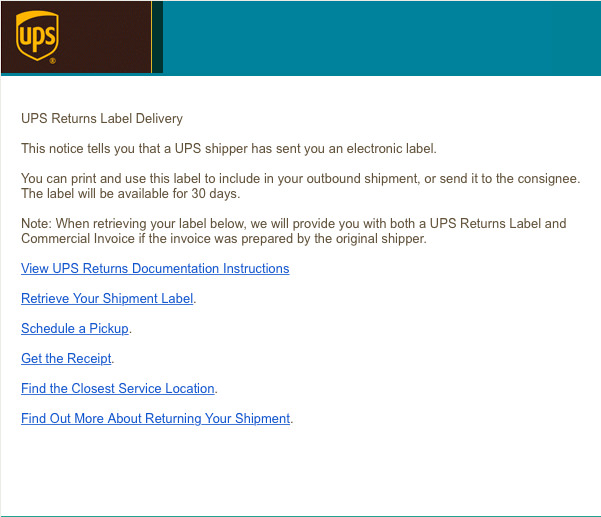
DJI emails me a UPS prepaid shipping label to send back the Mavic to their service center. Because I was on the road for work, I couldn't actually send the Mavic in until December 9th.
December 10
DJI emails me a UPS prepaid shipping label to send back the Mavic to their service center.

December 12
DJI sends me an email that they have received the Mavic and gives me a case number. They include a list of items received. Another email came in saying they have evaluated my Mavic.
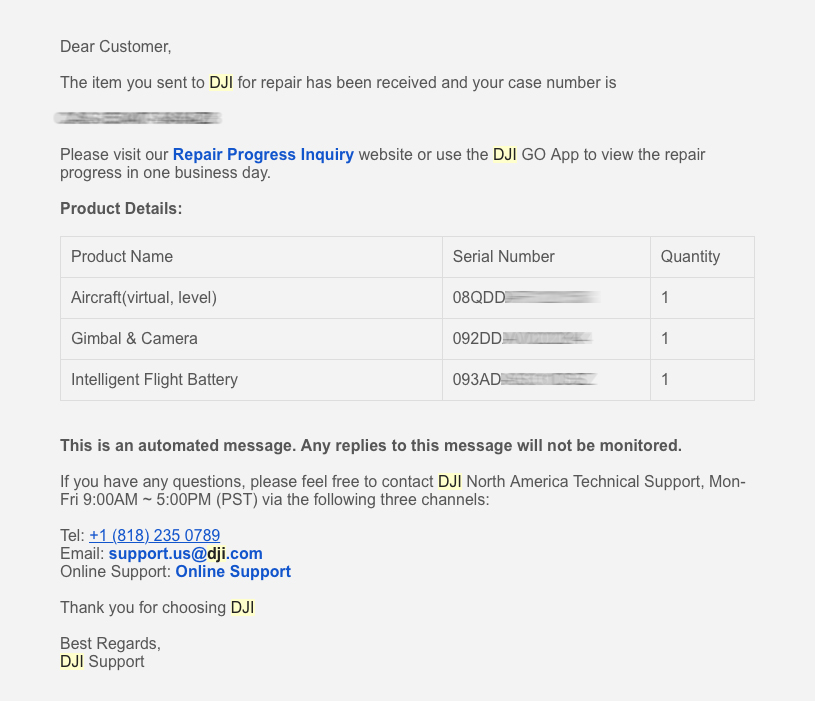

DJI emailed and said they have evaluated the craft. Because I have DJI Refresh, the Mavic is covered and I had to pay a service charge for processing the craft.
December 13
The very next day, I got 2 emails from DJI. The first saying that my repairs have been made, and the second saying that they tested the Mavic and will be shipping it within the next 2 days.

December 14
DJI ships my Mavic and provides a tracking number for my package.

December 16
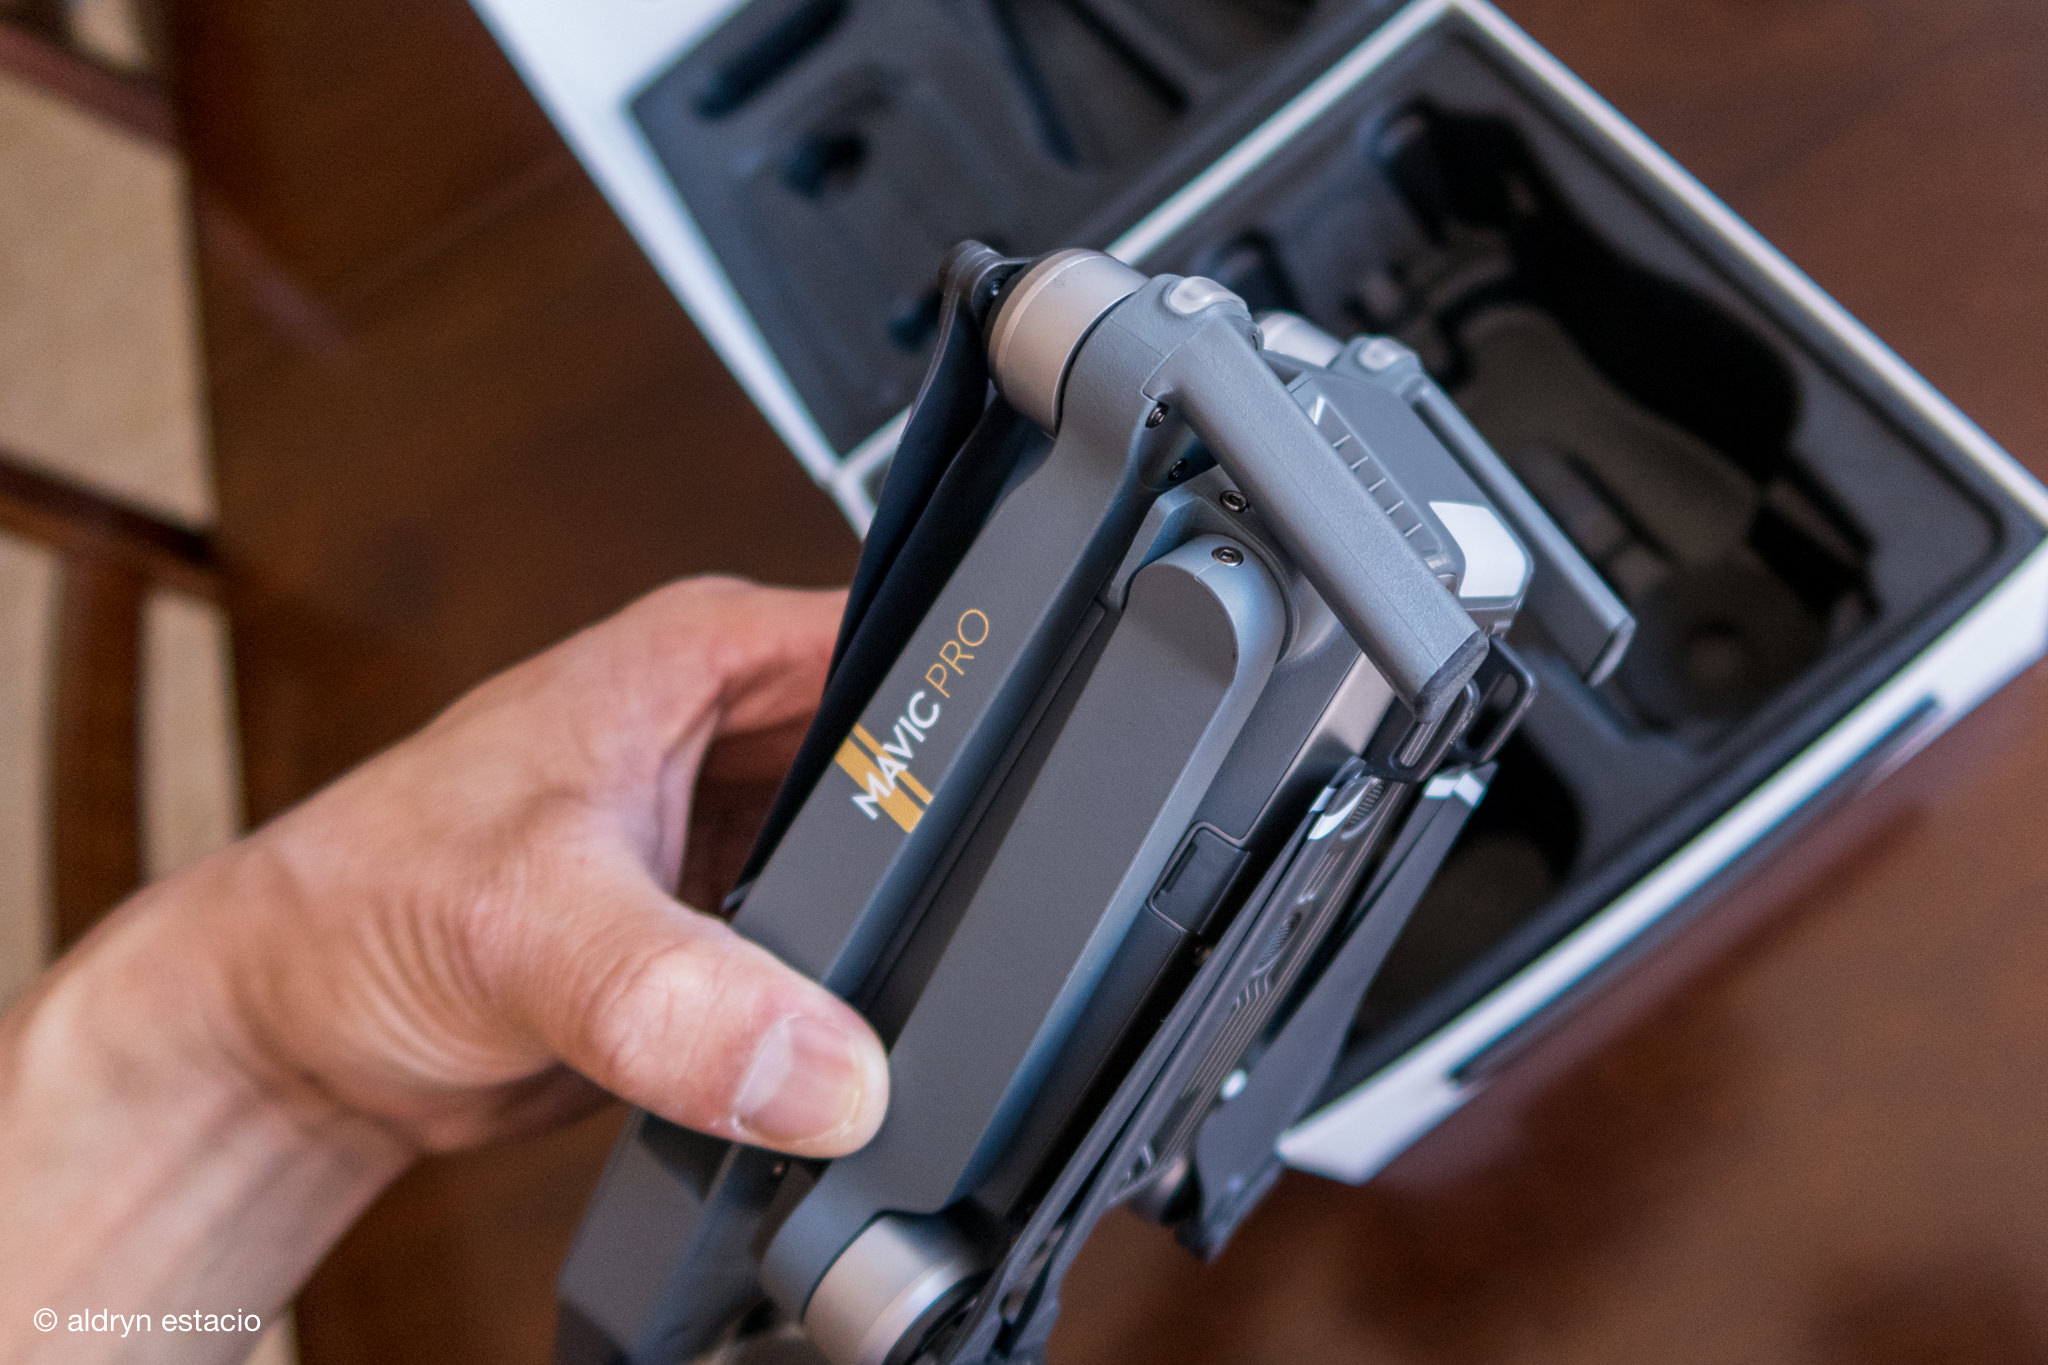
I receive my DJI Mavic and examine the repairs. After looking closely, I come to find out that they didn't fix the leg. DJI actually sent me a completely new aircraft. AWESOME!! They sent me my Mavic back with the broken piece in the box. A note that states all repairs have been made.

December 17
I took the Mavic out for a test flight to make sure everything was good to go. I had to resync the RC with the Mavic before flight. After a calibration and preflight checklist was complete, I took flight. Everything was as good as new during testing.


Conclusion
I was very impressed with DJI's customer service and turn around time. I know they had issues in years past, so I was concerned about the process. Overall, they came through and exceeded my expectations. Is this a rare account? I know some people online have had their issues, but until that happens to me, I will report my current experiences.
Yes, the DJI Mavic is small, portable and extremely versatile. But with this compact size, remember that everything is smaller and more fragile. I only blame myself for overpacking my bag and I could have most likely done a little more to ensure a safer transport in my bag but I didn't. In the future, I plan on using either my hard case when possible, our when traveling light, will look at smaller well padded bags to transport it in. Lesson learned on my part.
More information on the products in this post, follow the links below:
I took the family out to shop for this years Christmas tree at the Pinery in Escondido, CA. After searching and searching they finally found their perfect tree.

Below is some information on how we shot this photo of the Sunset Cliffs Sinkhole Sea Cave.
Photo by Aldryn Estacio + Daniel Peckham
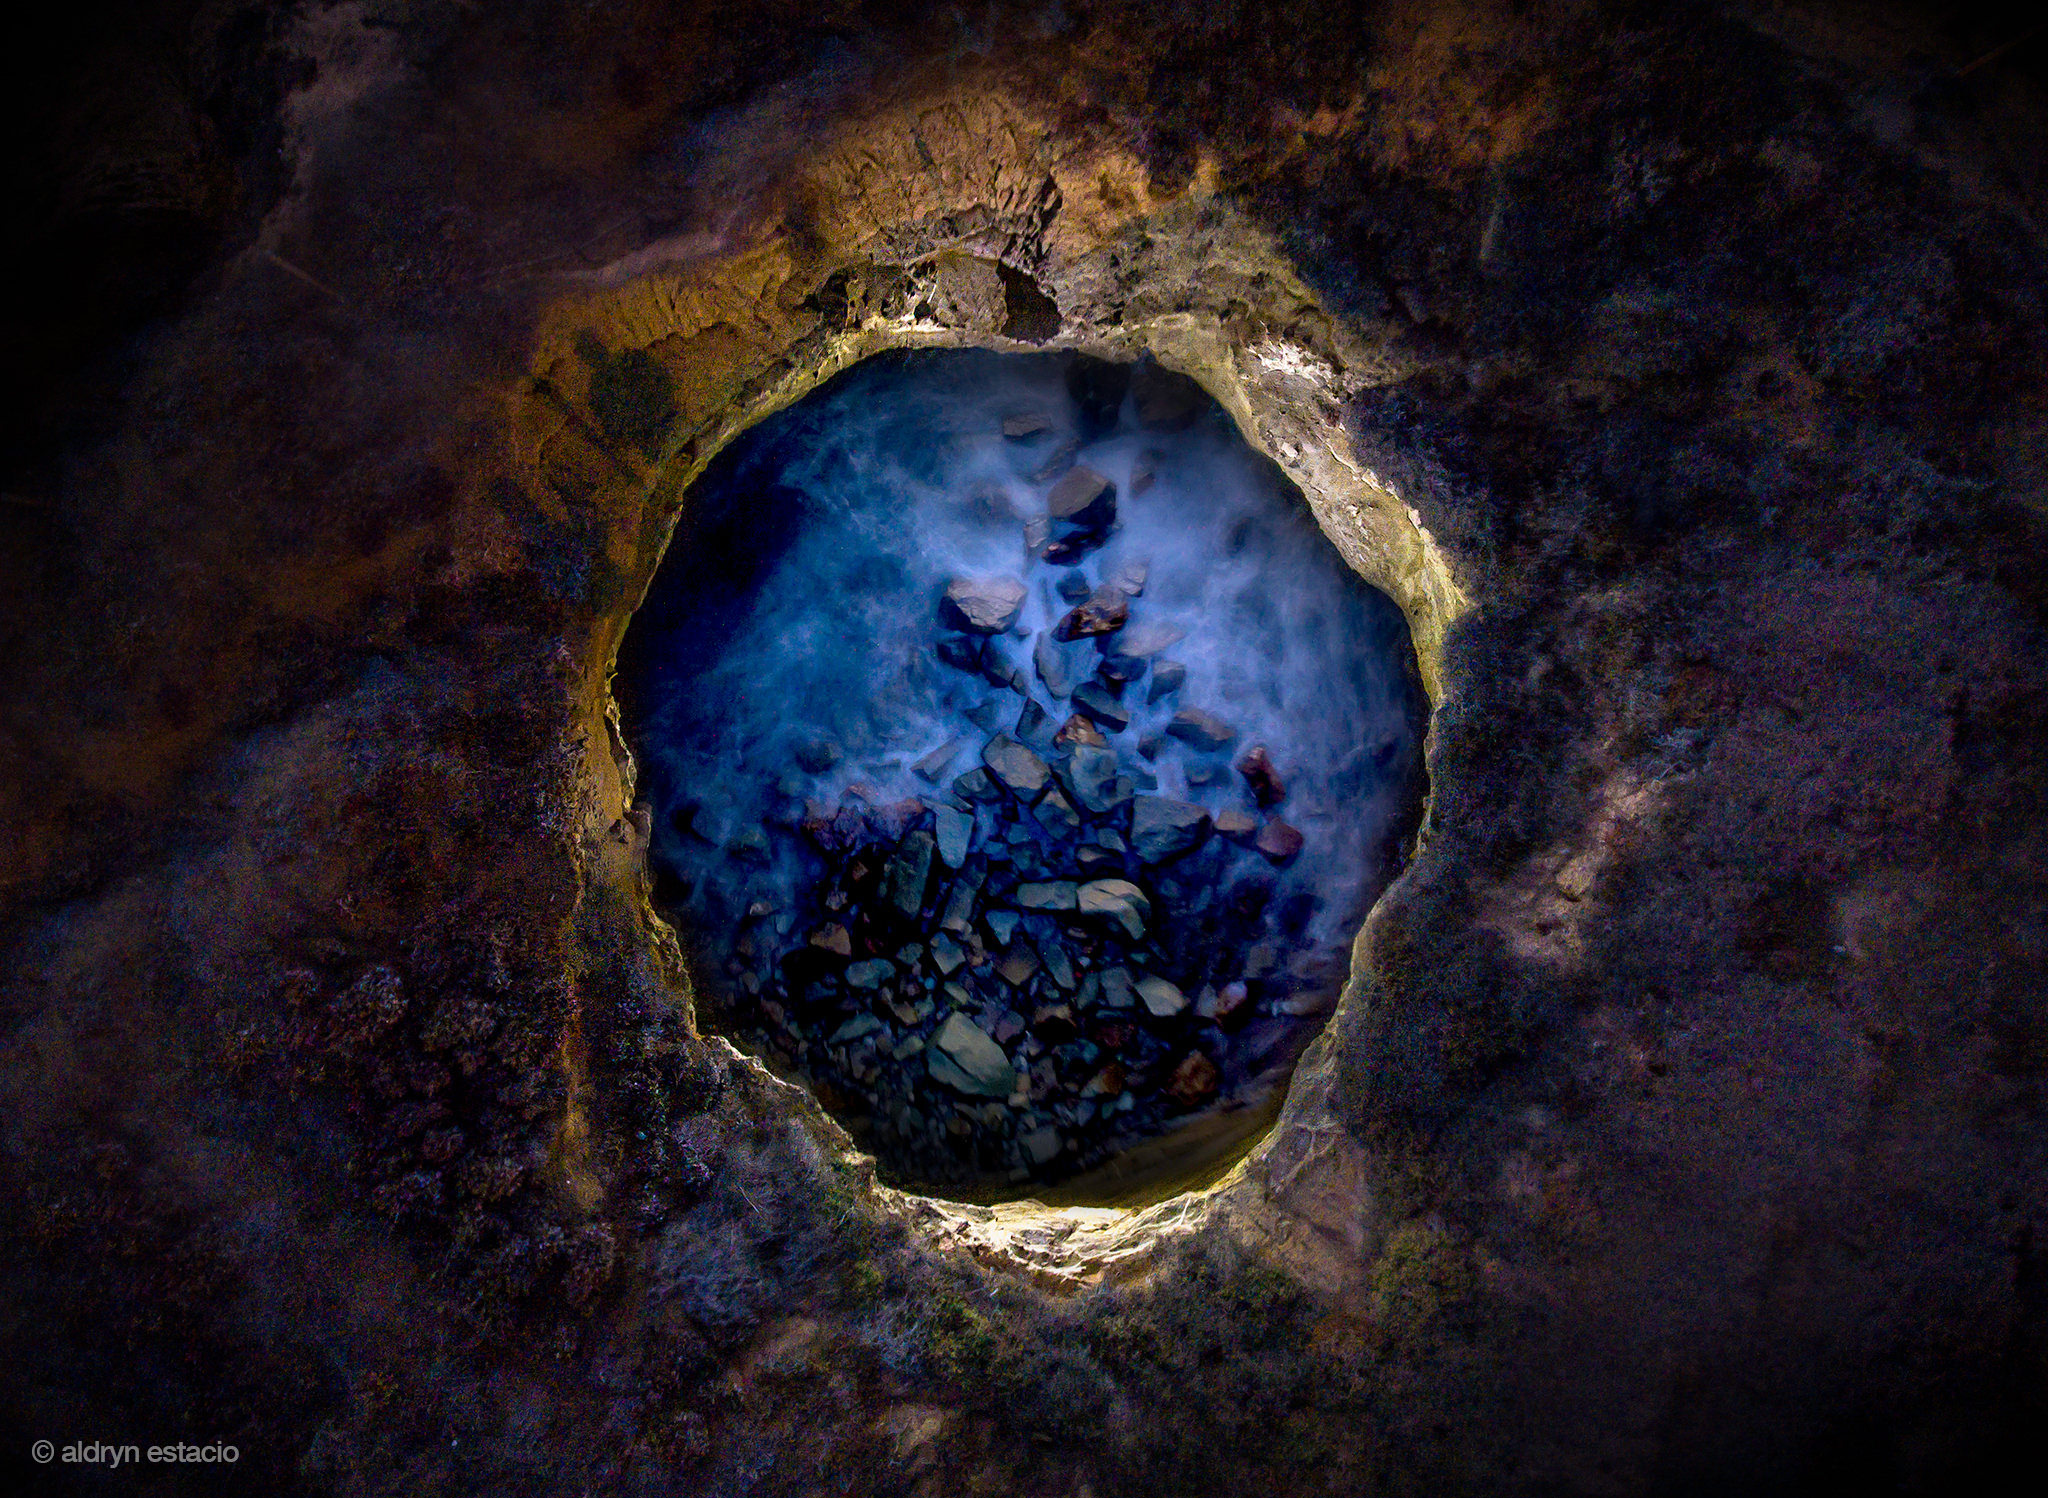
I envisioned this shot a while ago and finally made it happen. We got to Sunset Cliff about an 45 minutes before sunset so we spent a few batteries getting some creative sunset shots. During sunset, the high winds made us second guess trying out the drone light flight. Once the sun set, the winds began to die down just a bit so we began prepping the drones. I had two Lume Cubes but didn't have the phantom brackets. At first, we were trying to see how I could strap them to my Phantom 4 but there wasn't a secure spot we could tape them too. Daniels Phantom 3 had a bottom gimbal protector bracket which seemed to work best. We taped the Cubes to the bottom bracket and secured the bracket to the Phantom legs with some extra gaffe tape.
About 25 minutes after the sun went down, we took the Phantom 3 with lights up and over the hole. Flighting some minor gusts of wind, Daniel flew the Phantom below the rim of the hole. The idea was light up the walls right below the rim so it would create some rim light from the inside out. Once in position I flew the Phantom 4 directly above and began adjusting settings on the app. The drone lights were only able to light up a small portion of the walls at a time so we had to take multiple shots at different angles in order to light the entire hole.
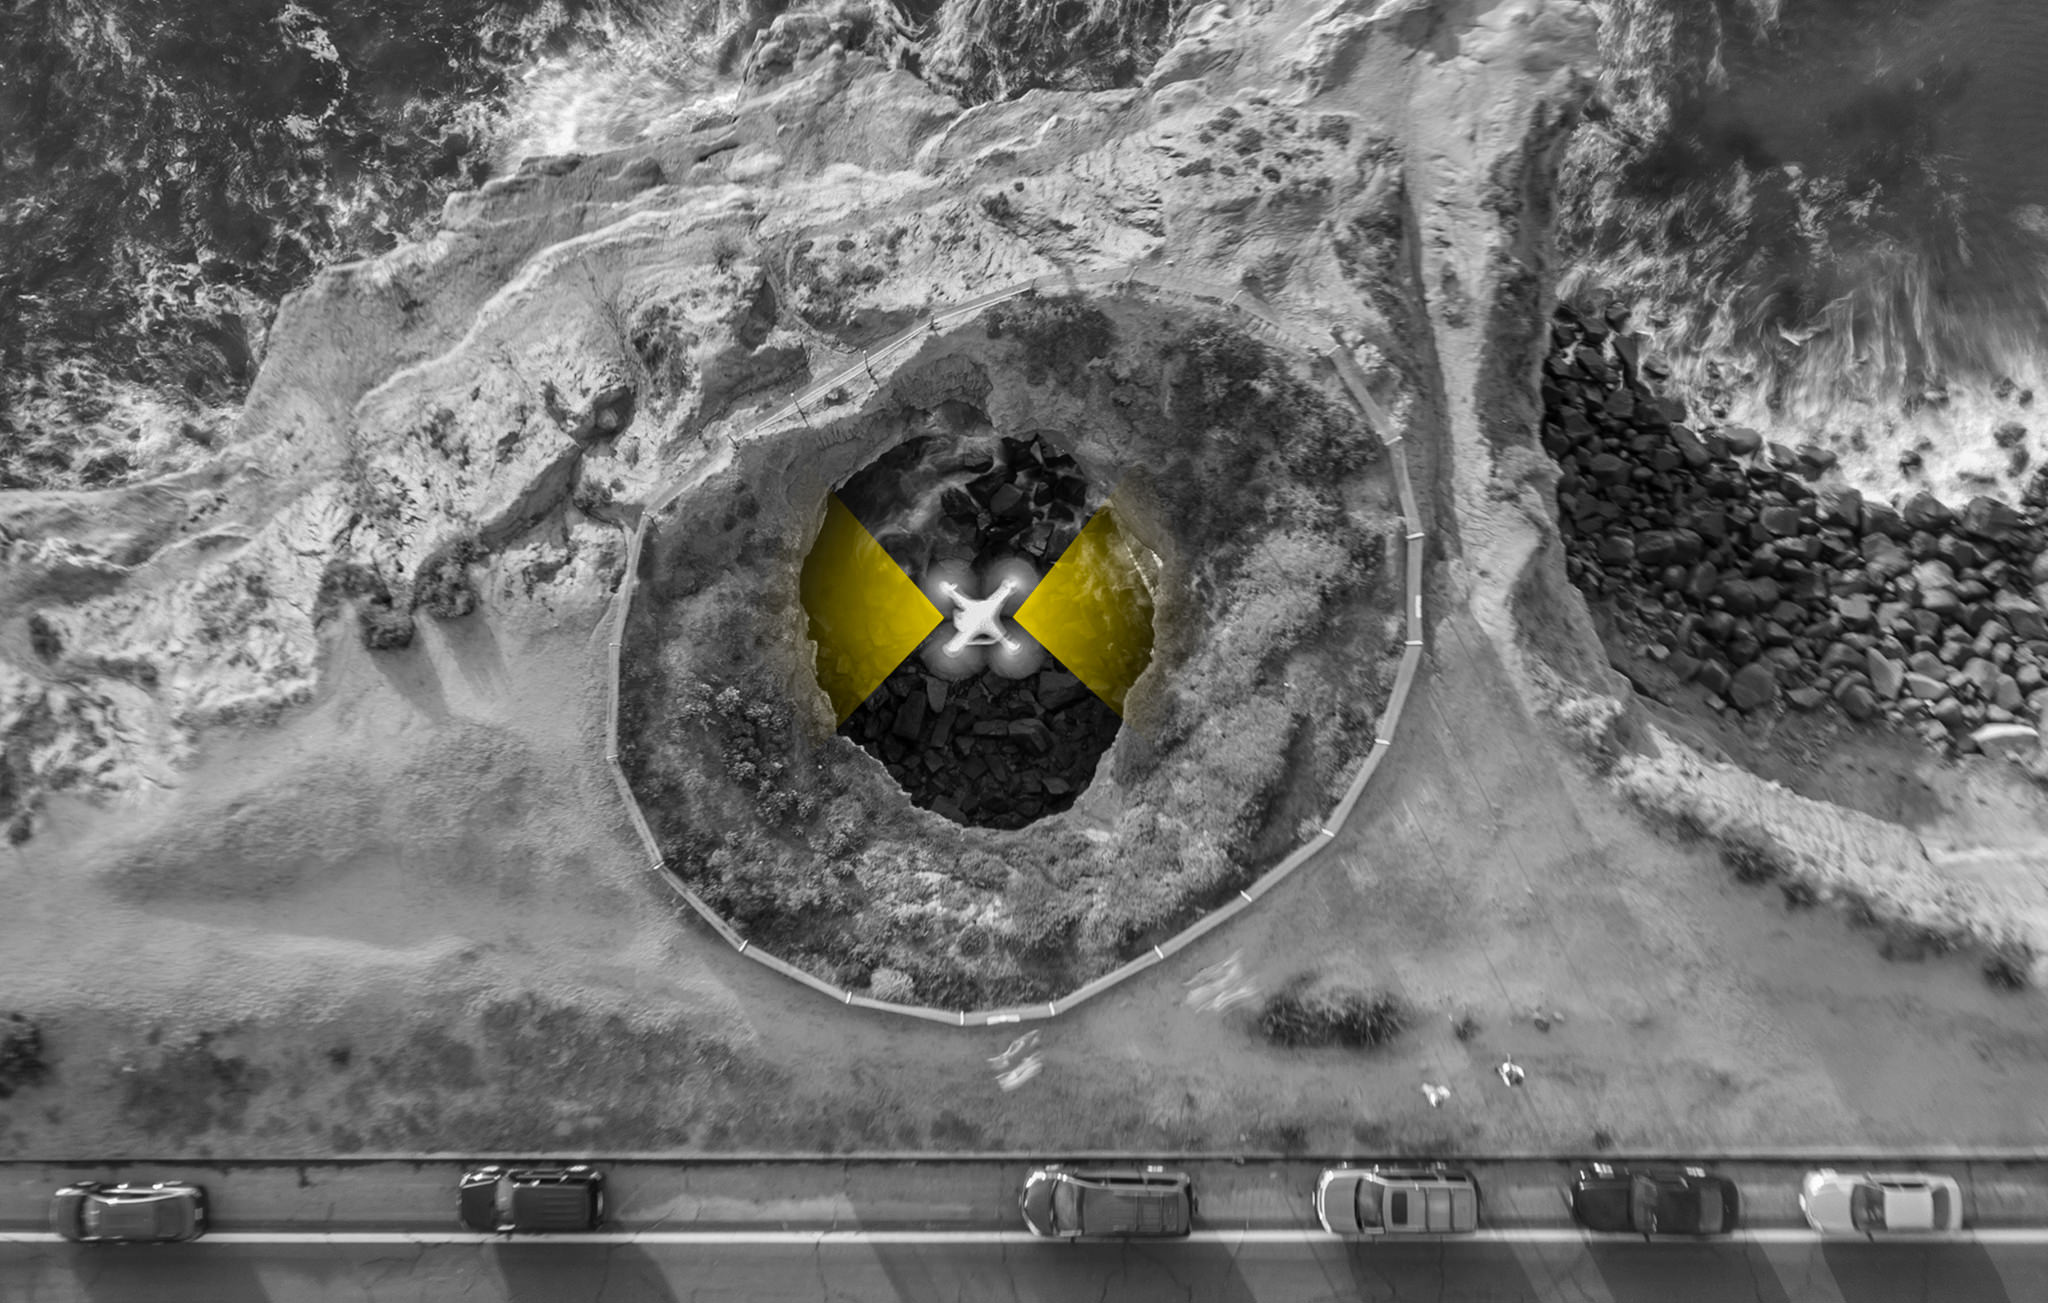
Below are three images that we shot at ISO 1600 F2.8 1/2 second exposure. In order for us to maintain clarity of the rocks and brush around the hole, we had to increase shutter speed and ISO. As you can see below, the 3 shots were created to highlight the inner rim of the hole. The dot is the middle of the circle is Phantom 3, lighting up the side walls.

Below is the three images composited into one photo with a little bit of post precessing done in lightroom.

In order to get a lot of light and motion of the water at the bottom of the hole, we had to adjust the Phantom 4 settings again. This time we lowered the ISO to 100 and slowed the shutter to 6 seconds. This gave us a lot of motion and details of the water and rocks at the bottom. Because the shutter was so slow at 6 seconds, it of course made the brush and outer hole area very blurry. 6 seconds was way to long at the distance we were at to get a clear images. Luckily for us we only wanted the center water portion to be clear and bright.

After some post process and compositing, the final photo came out better than I could have imagined. The final photo is composed of 4 different lighting and long exposure shots composited to one. I've used off camera lighting a lot on land, but with new gadgets like the lume cube and phantoms, light painting has entered an entirely new dimension.
FINAL COMPOSITION


