

Below is some information on how we shot this photo of the Sunset Cliffs Sinkhole Sea Cave.
Photo by Aldryn Estacio + Daniel Peckham
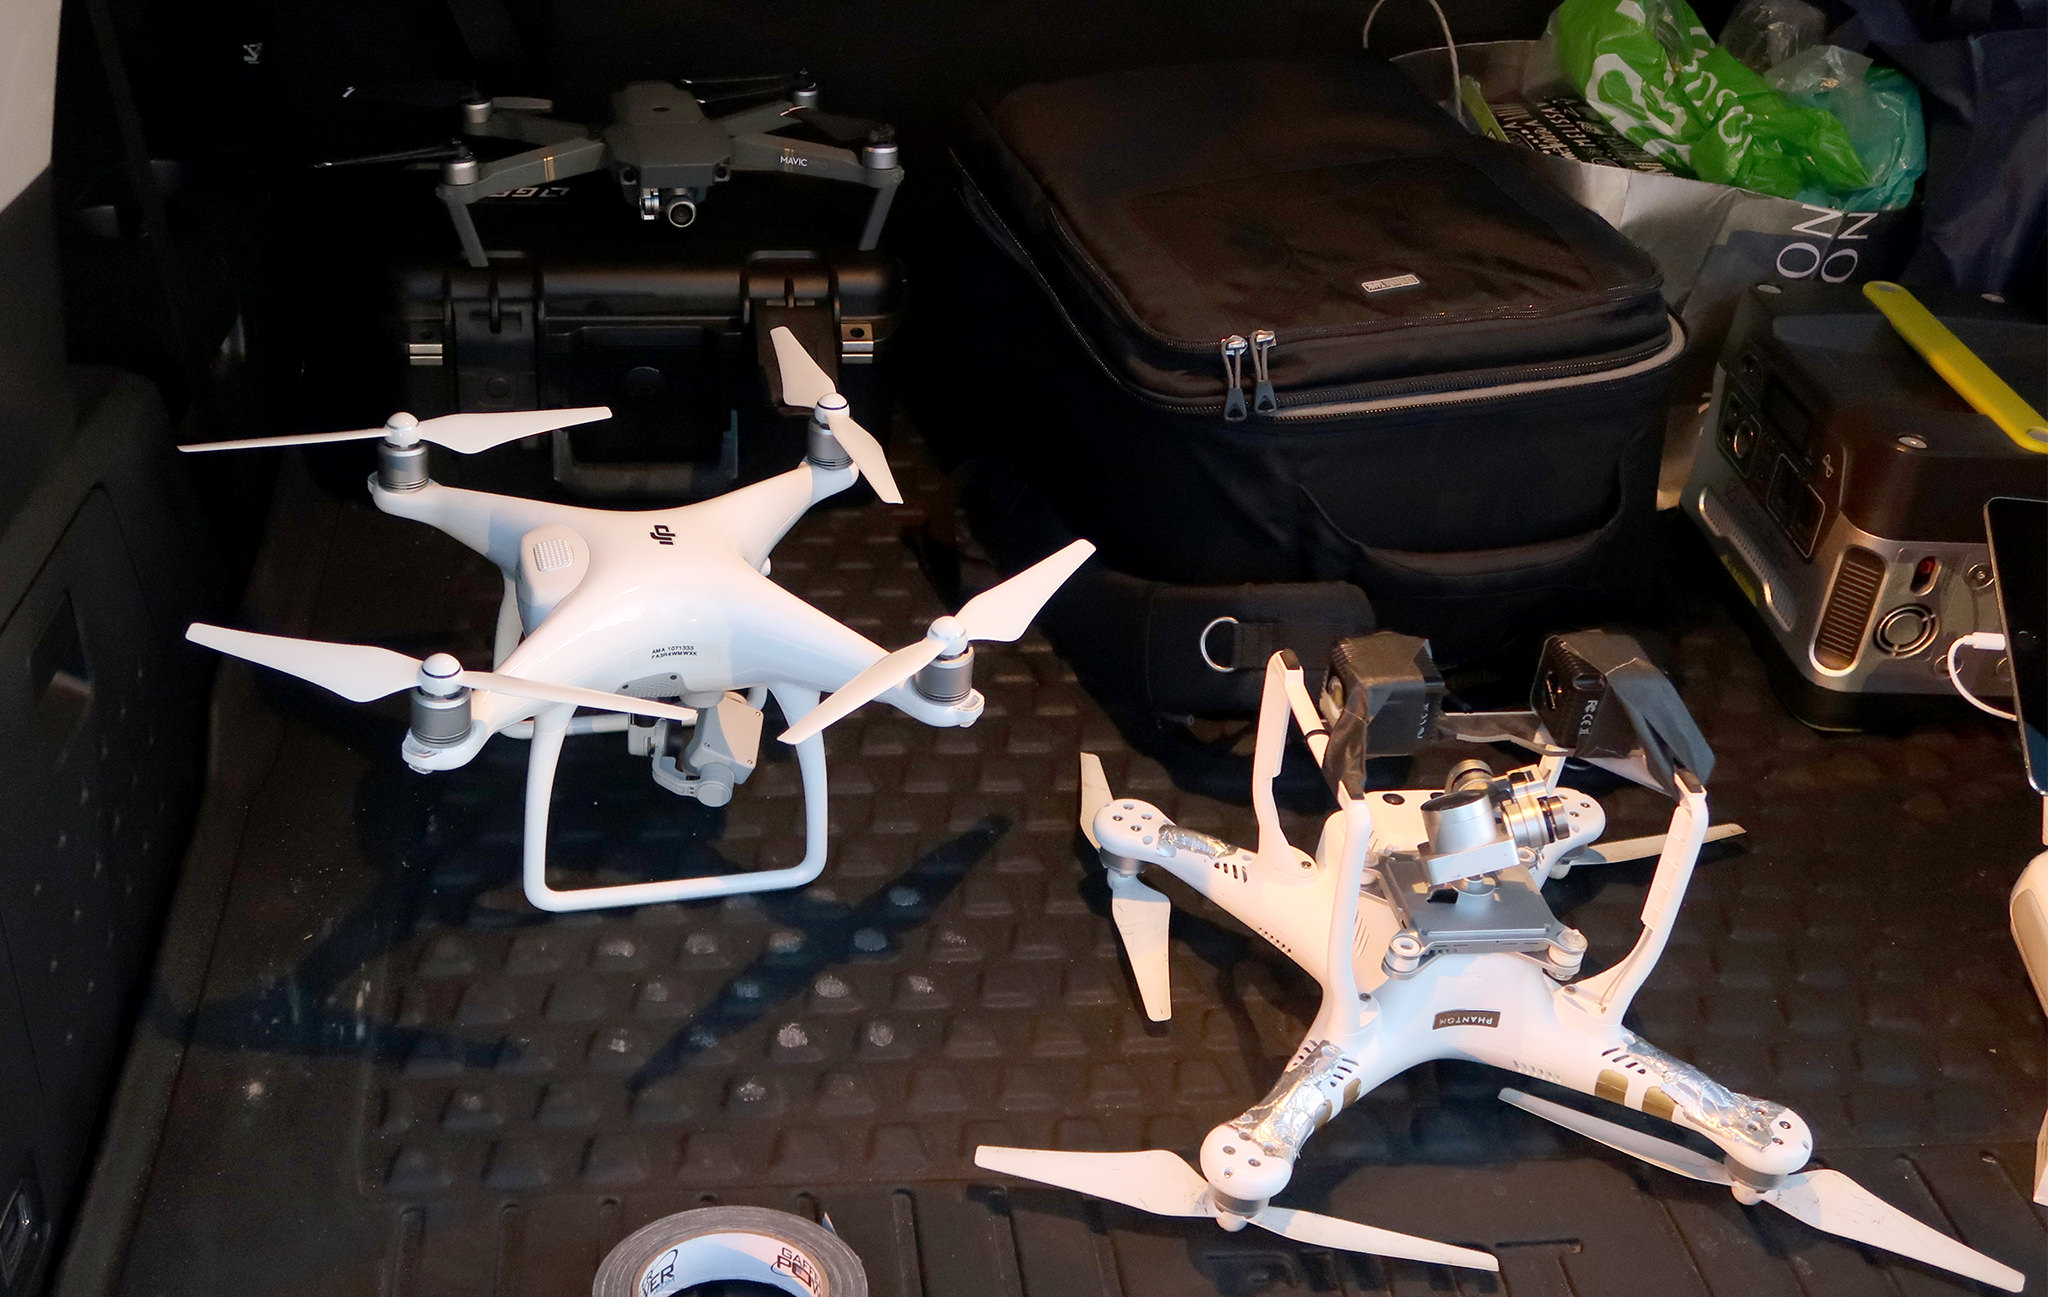
I envisioned this shot a while ago and finally made it happen. We got to Sunset Cliff about an 45 minutes before sunset so we spent a few batteries getting some creative sunset shots. During sunset, the high winds made us second guess trying out the drone light flight. Once the sun set, the winds began to die down just a bit so we began prepping the drones. I had two Lume Cubes but didn't have the phantom brackets. At first, we were trying to see how I could strap them to my Phantom 4 but there wasn't a secure spot we could tape them too. Daniels Phantom 3 had a bottom gimbal protector bracket which seemed to work best. We taped the Cubes to the bottom bracket and secured the bracket to the Phantom legs with some extra gaffe tape.
About 25 minutes after the sun went down, we took the Phantom 3 with lights up and over the hole. Flighting some minor gusts of wind, Daniel flew the Phantom below the rim of the hole. The idea was light up the walls right below the rim so it would create some rim light from the inside out. Once in position I flew the Phantom 4 directly above and began adjusting settings on the app. The drone lights were only able to light up a small portion of the walls at a time so we had to take multiple shots at different angles in order to light the entire hole.
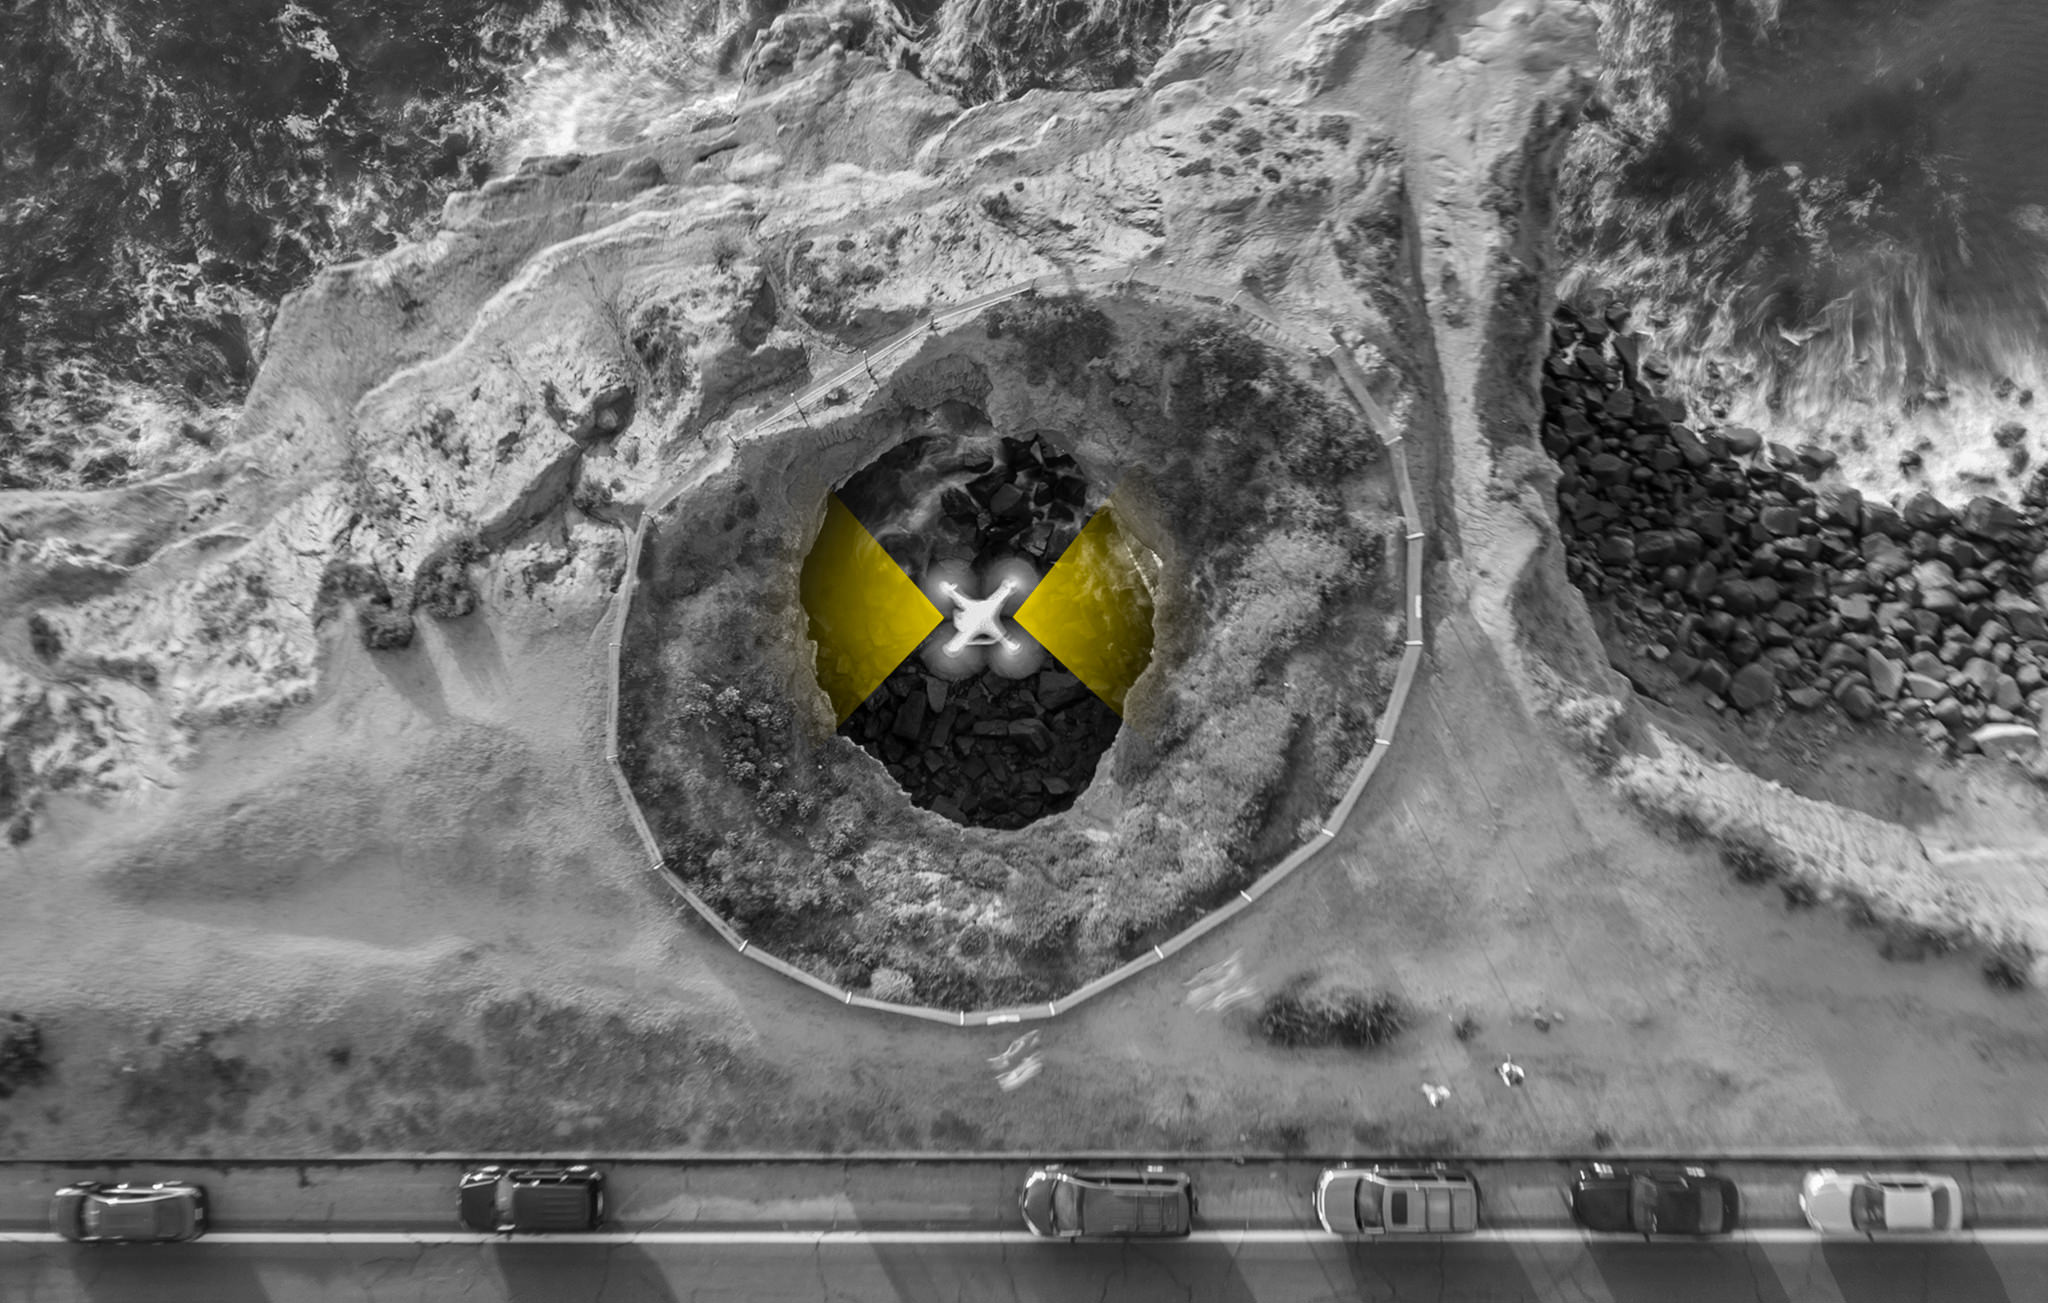
Below are three images that we shot at ISO 1600 F2.8 1/2 second exposure. In order for us to maintain clarity of the rocks and brush around the hole, we had to increase shutter speed and ISO. As you can see below, the 3 shots were created to highlight the inner rim of the hole. The dot is the middle of the circle is Phantom 3, lighting up the side walls.

Below is the three images composited into one photo with a little bit of post precessing done in lightroom.

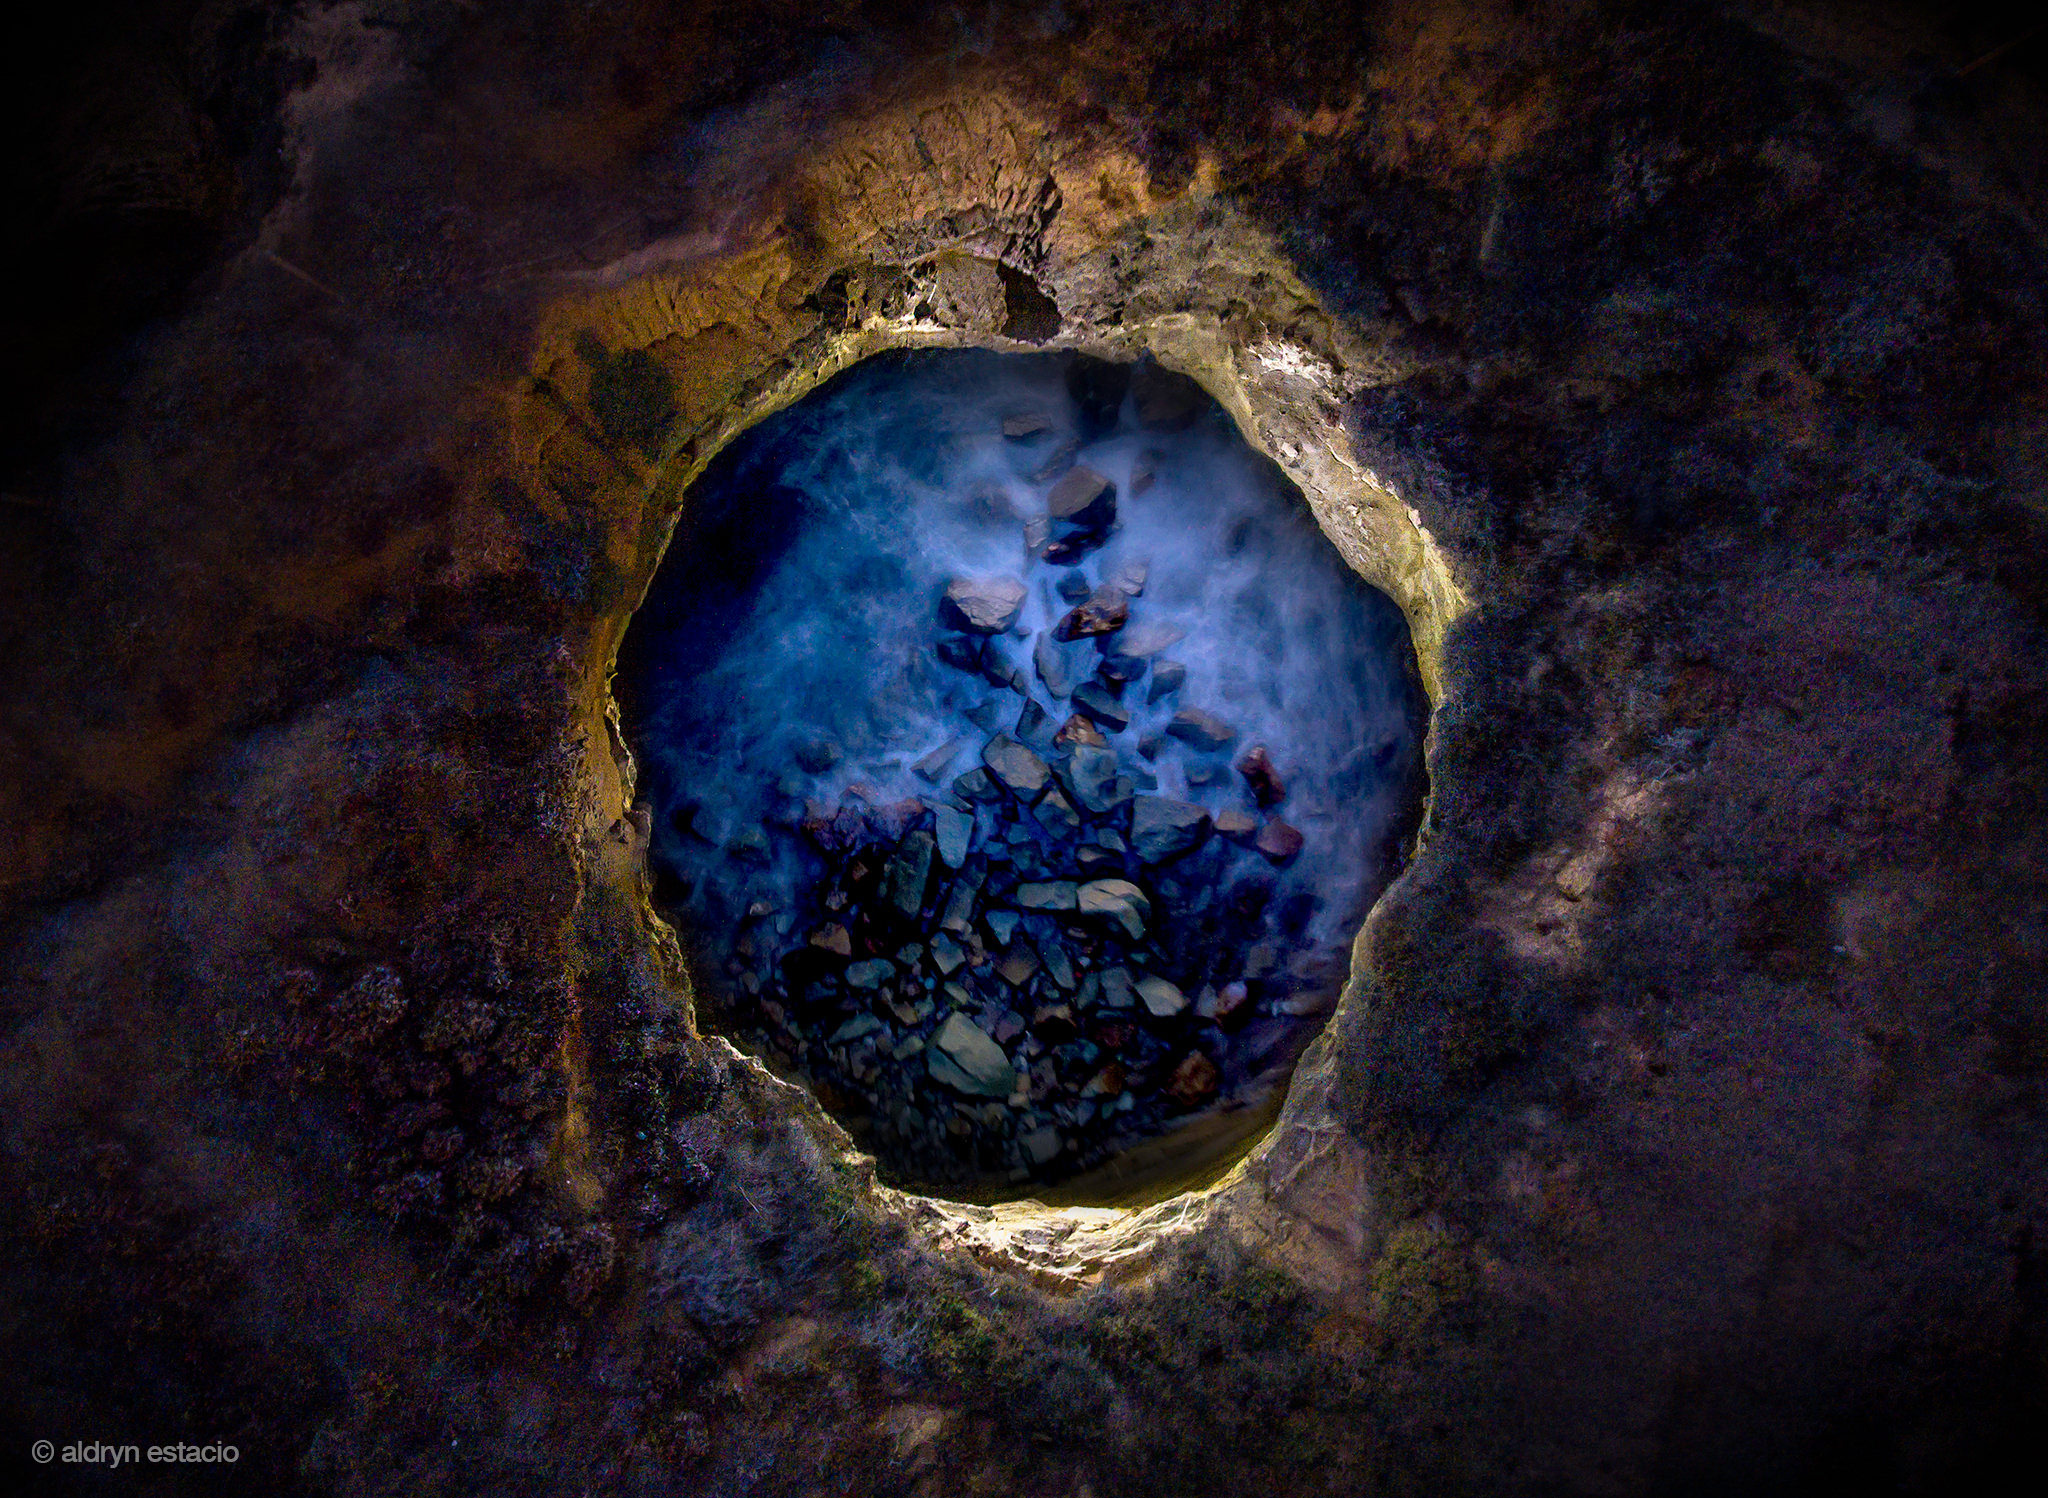
In order to get a lot of light and motion of the water at the bottom of the hole, we had to adjust the Phantom 4 settings again. This time we lowered the ISO to 100 and slowed the shutter to 6 seconds. This gave us a lot of motion and details of the water and rocks at the bottom. Because the shutter was so slow at 6 seconds, it of course made the brush and outer hole area very blurry. 6 seconds was way to long at the distance we were at to get a clear images. Luckily for us we only wanted the center water portion to be clear and bright.

After some post process and compositing, the final photo came out better than I could have imagined. The final photo is composed of 4 different lighting and long exposure shots composited to one. I've used off camera lighting a lot on land, but with new gadgets like the lume cube and phantoms, light painting has entered an entirely new dimension.
FINAL COMPOSITION
