Viewing entries tagged
drone

The new DJI SPARK

The new DJI SPARK

For complete info, click here: https://goo.gl/IiqMFt

DJI released a mini drone this morning called the SPARK. It's more of a selfie drone but still packs a tech punch by including all the smart modes the big boys have. Hand gestures can control the drone so the need for a phone or remote is not necessary. One thing I like is the new pano photo and shallow focus mode. 

Who is this drone made for?
If you are first time drone flyer or owner, this thing is awesome. 12mp gives you solid photos and the 1/2.3" sensor produces great 1080 video.

Why the DJI SPARK over other drones out there in the market?
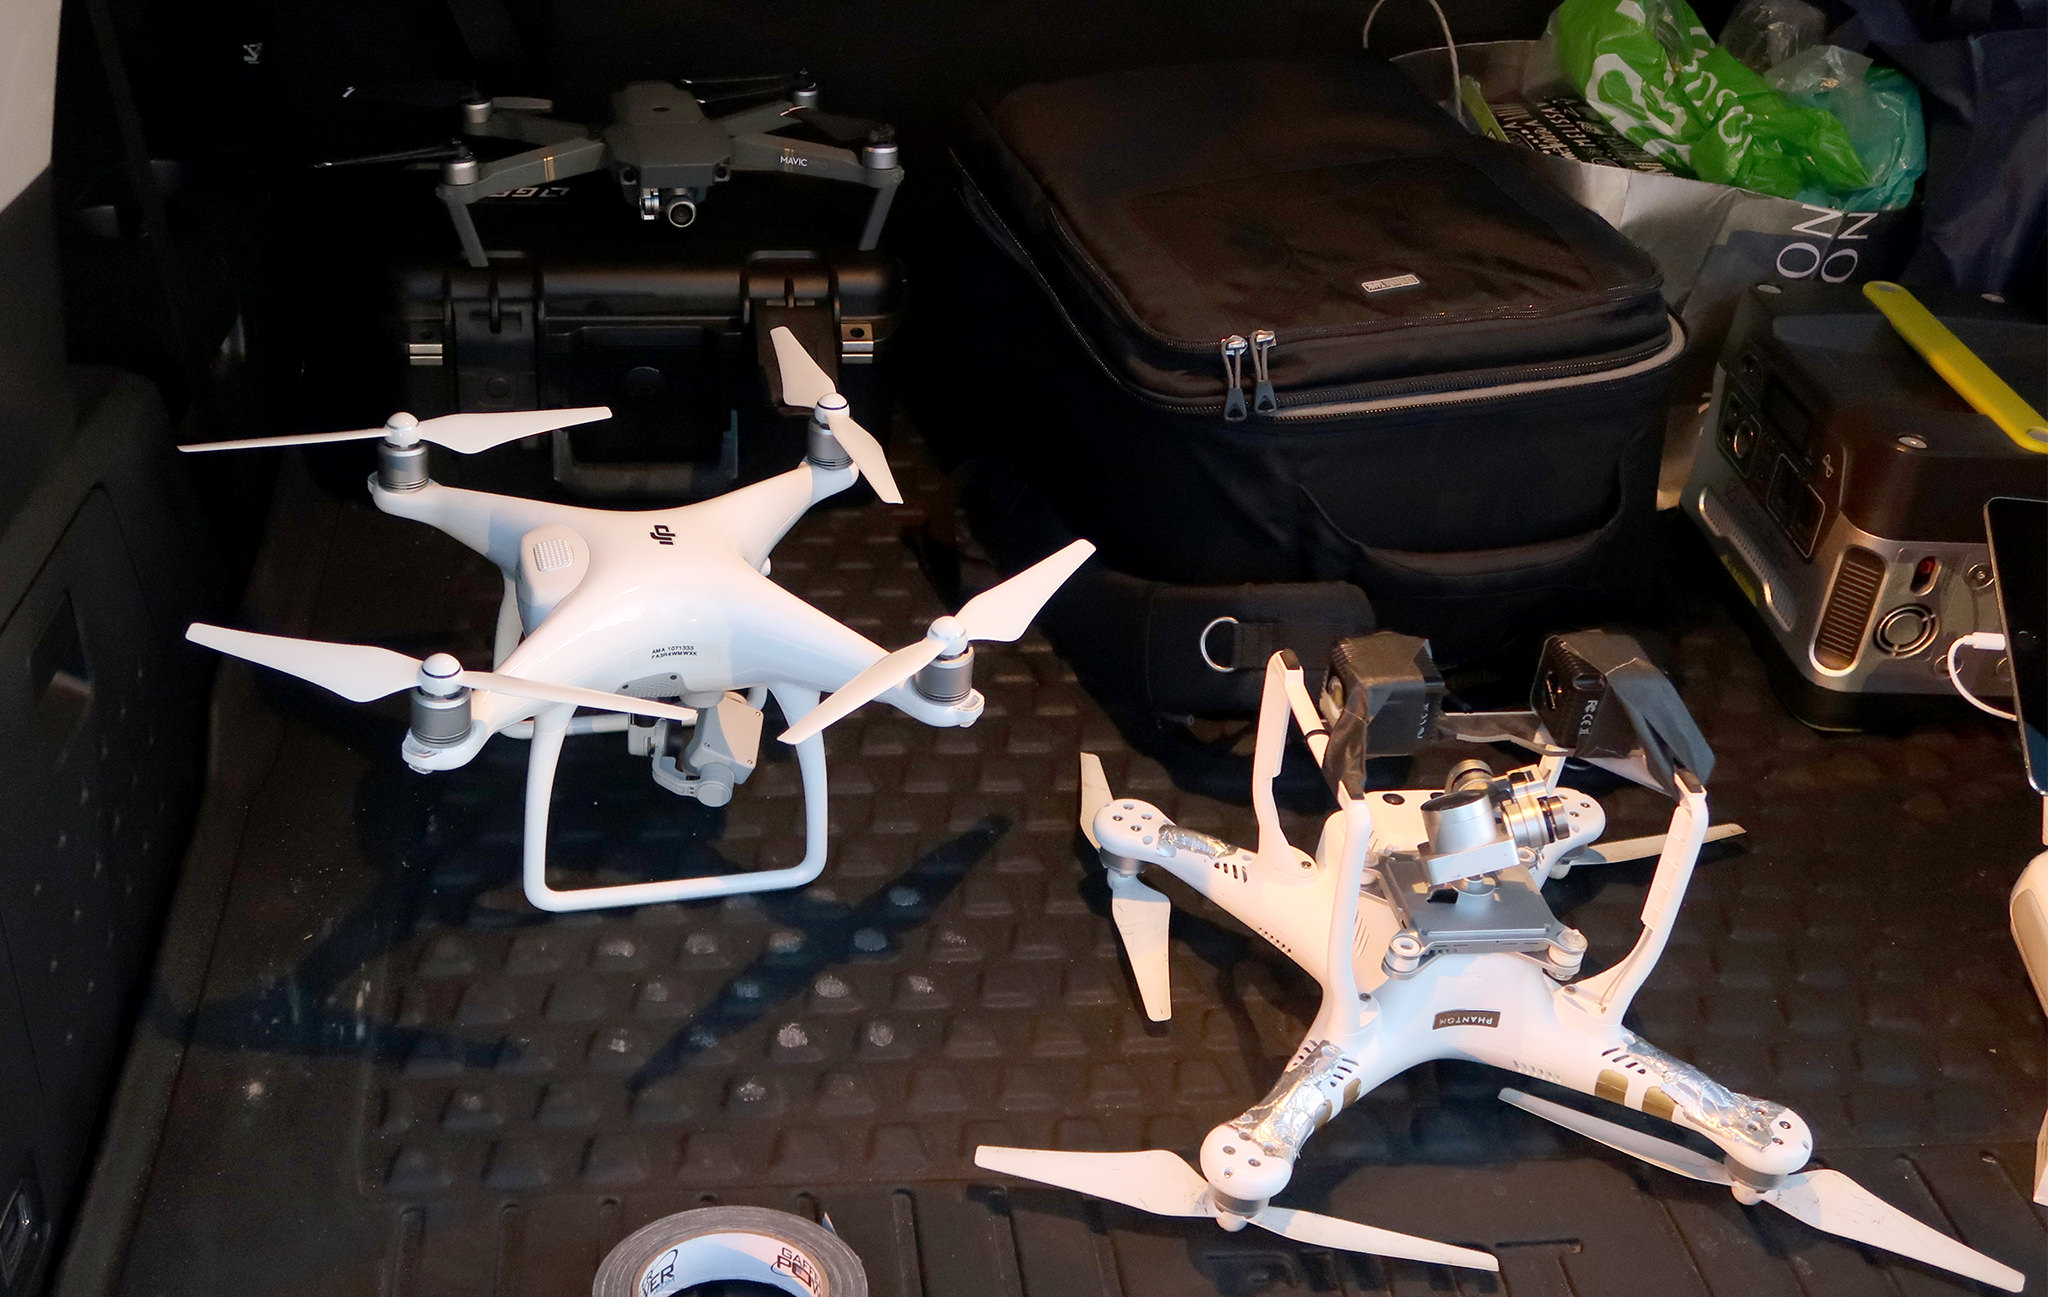
DJI is PROVEN!!!! They have been the industry leader since the Phantom 1 lineup came out and they continue to innovate and push the boundaries with each product. While some other companies have begun to release similar drones, DJI is the only one in the market that has thousands and thousands of drones in the air over the past few years. All other companies do not have the sample size DJI has. I one thing you want to be able to do is trust the technology, and DJI has done that for years.

Can I use the DJI Goggles?
Yes!! If you want that immersive experience, you can use the new DJI Goggles with your Spark.

Here are some features I wanted to highlight as these are some of the main differences between the SPARK and the MAVIC.

  • 2 axis and not a 3 axis gimbal
  • Only shoots 1080 and not 4k
  • Range is limited to 100 meters in wifi mode
  • With the remote control the SPARK can go over a mile, while the Mavic can go 4 miles
  • Would have been nice if the legs folded in to make it even more portable
  • New photo modes like Pano and Shallowfocus are really cool. I can see this being a software update for the Mavic.

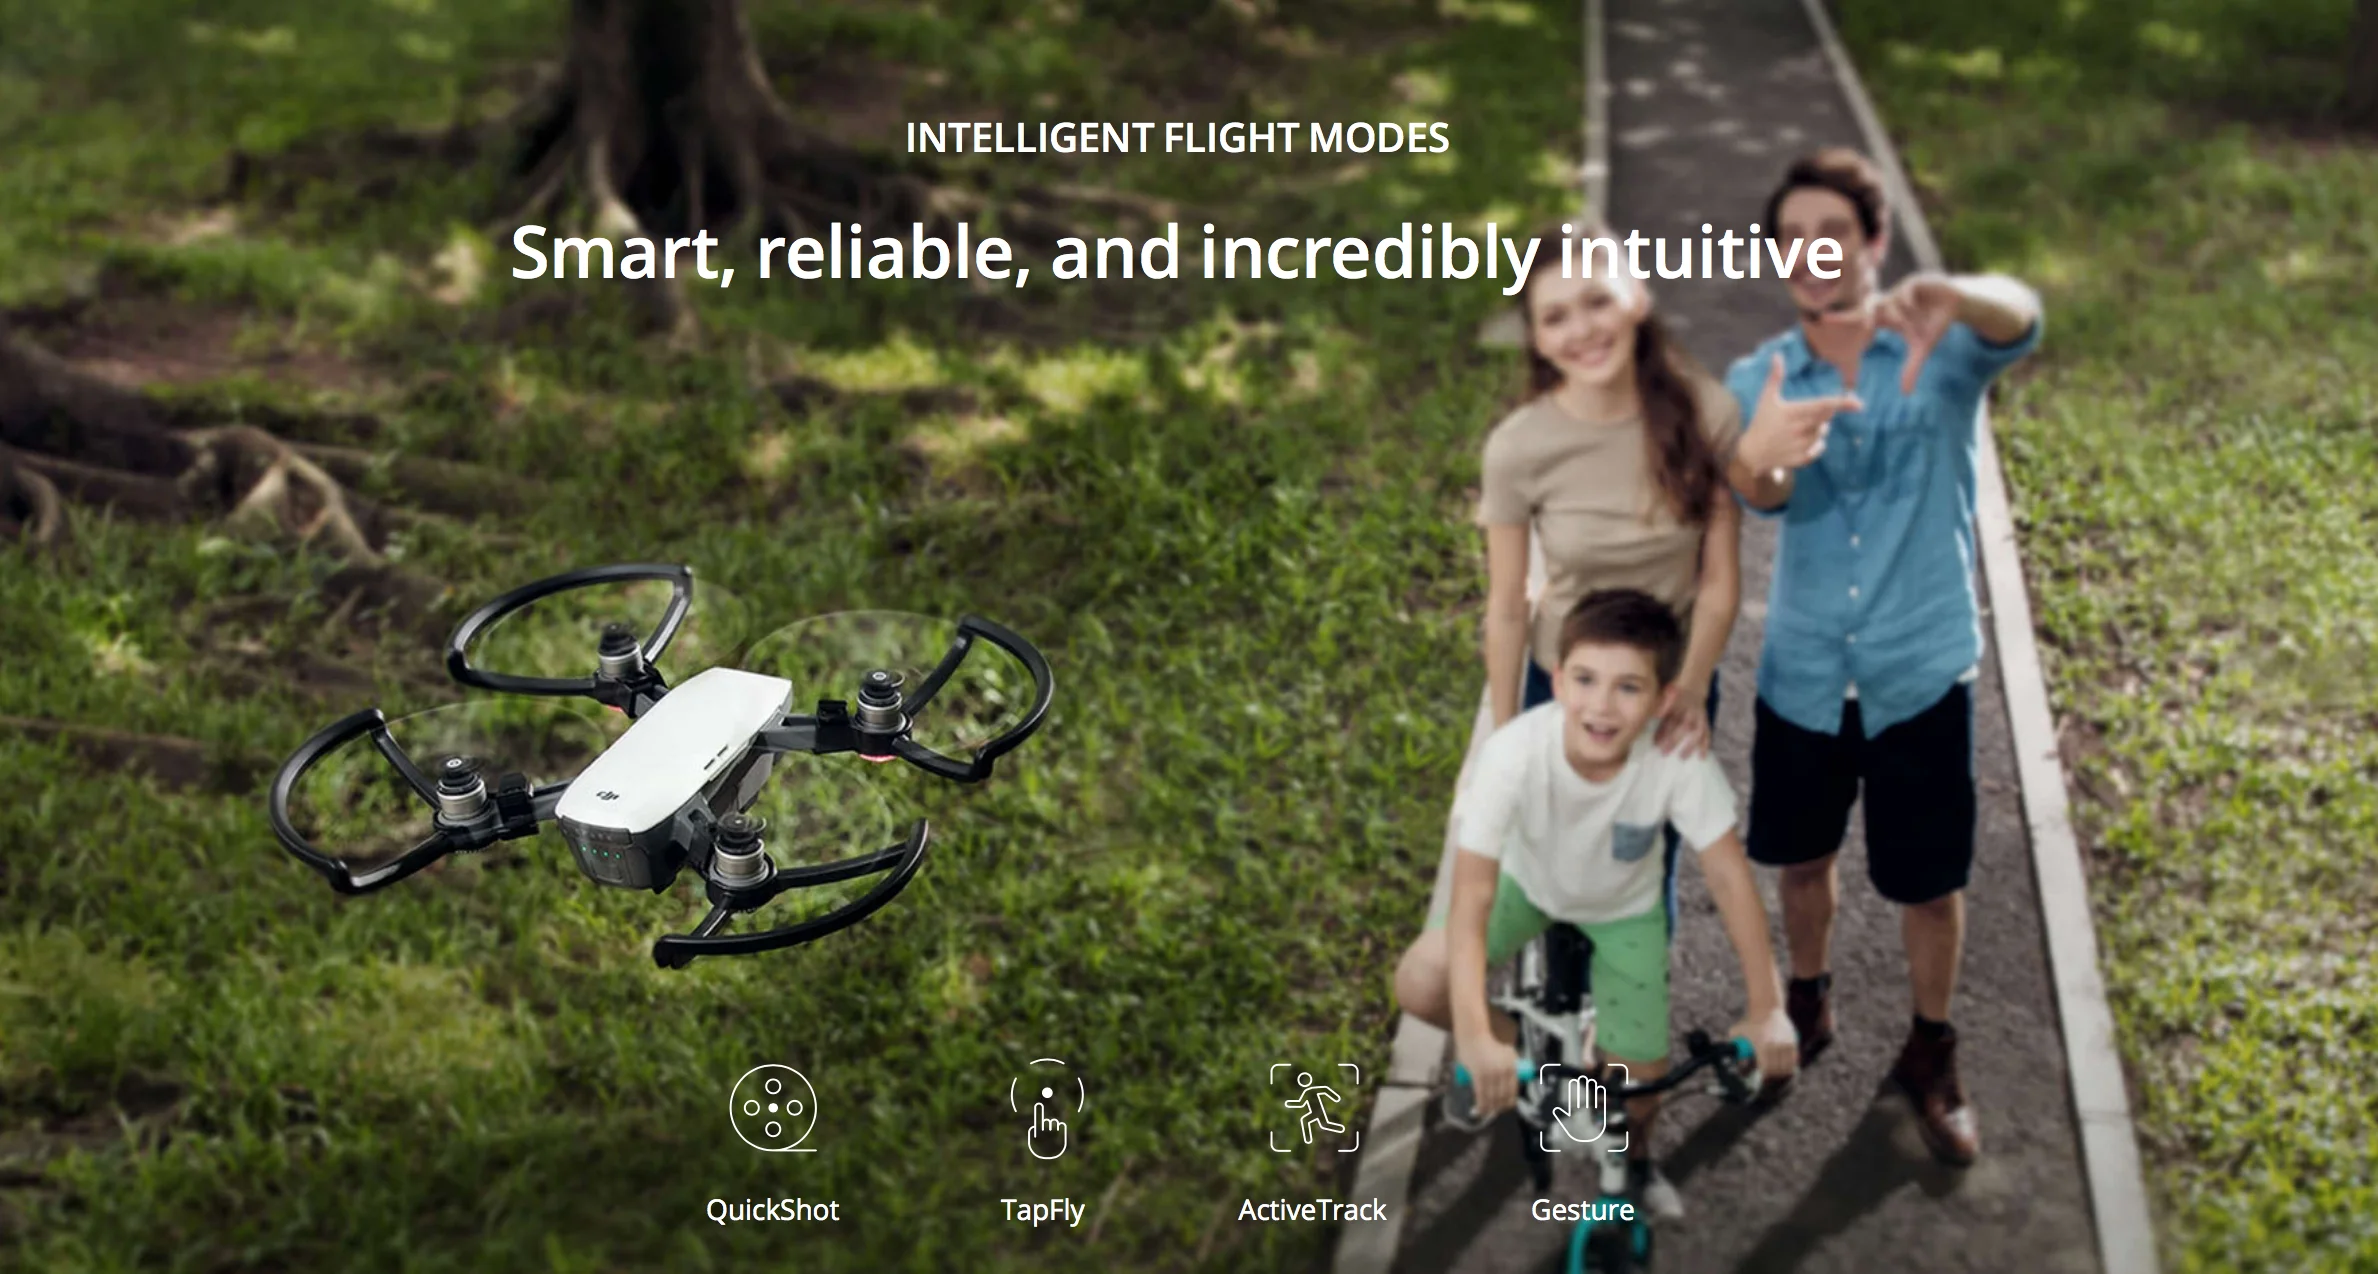
Meet Spark, a mini drone that features all of DJI's signature technologies, allowing you to seize the moment whenever you feel inspired. With intelligent flight control options, a mechanical gimbal, and a camera with incredible image quality, Spark empowers you to push your creative boundaries.

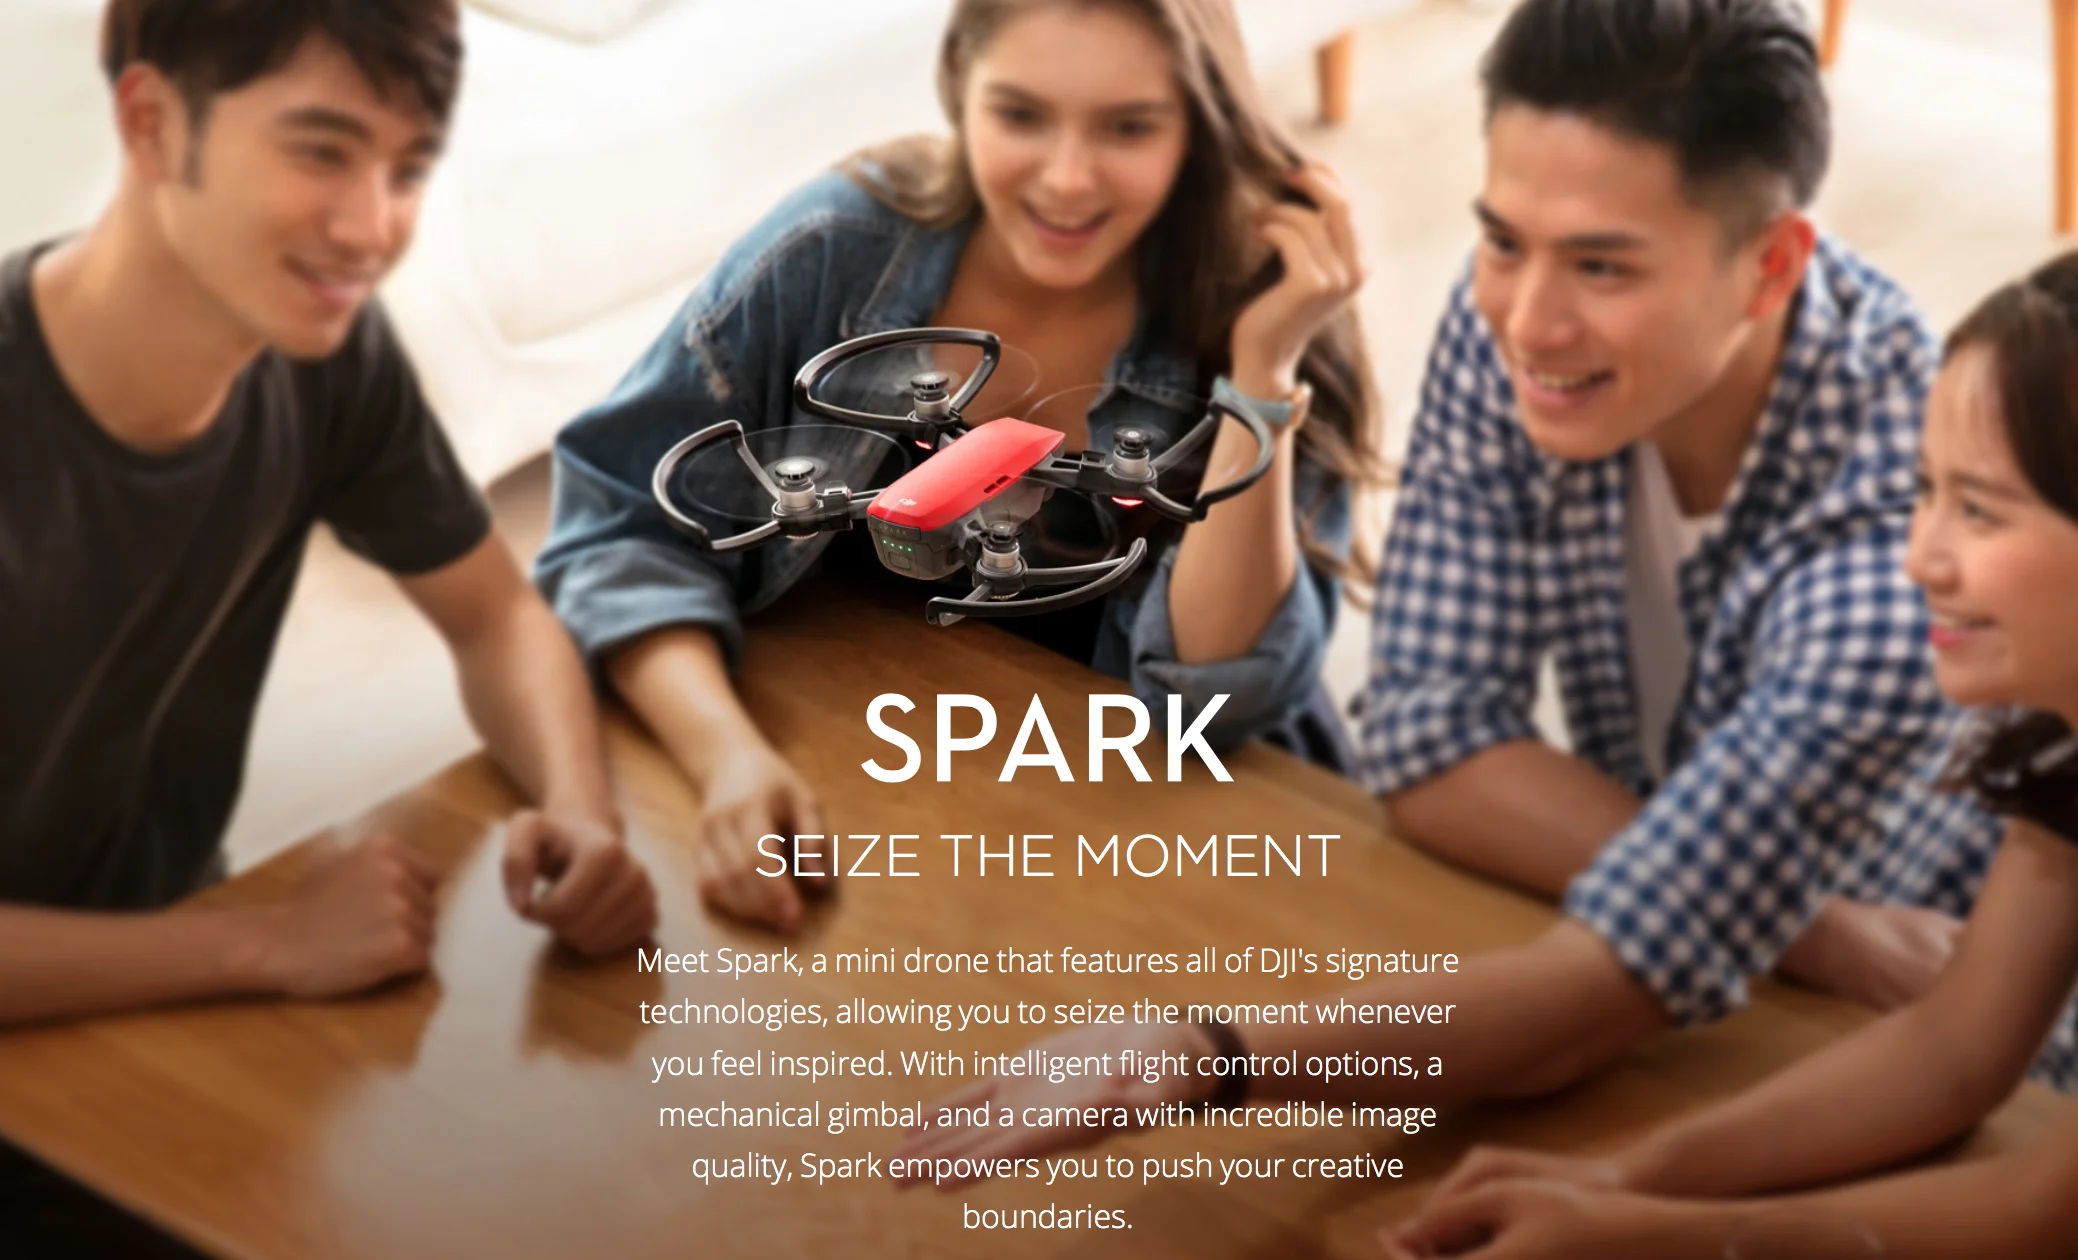
Small, compact, gesture controlled and of course SMART.

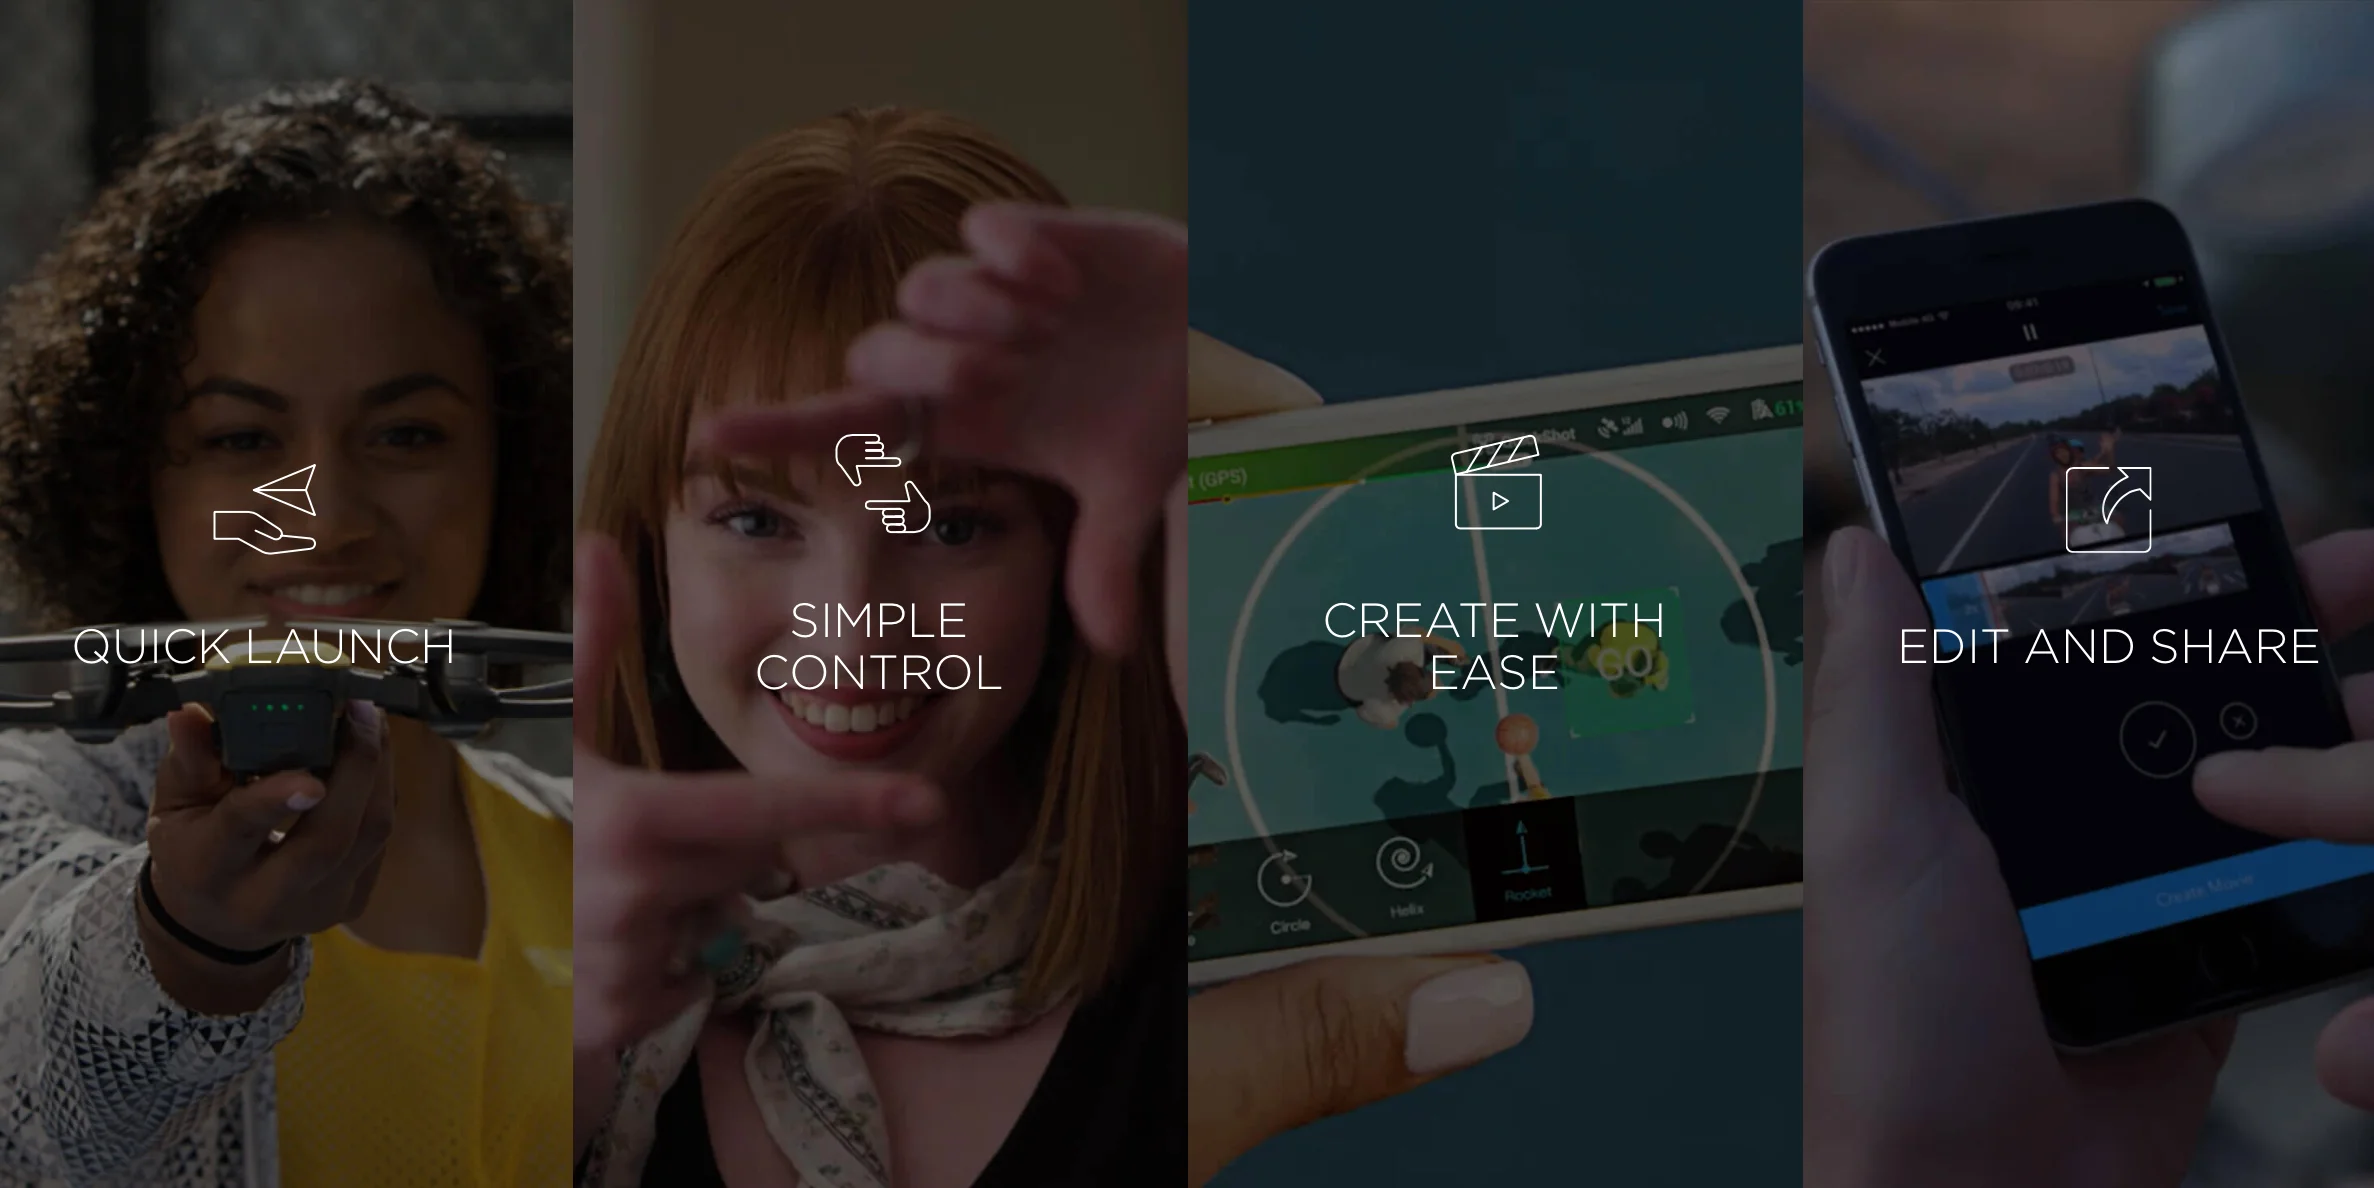
The new DJI app allows you to quick edit your photos and will even create quick clips for easy social sharing instantly.

The fact you can launch, take a video or photo without any device is awesome.

For complete info, click here: https://goo.gl/IiqMFt

Sunset Cliffs - Drone lighting + long exposure

Sunset Cliffs - Drone lighting + long exposure

Below is some information on how we shot this photo of the Sunset Cliffs Sinkhole Sea Cave.
Photo by Aldryn Estacio + Daniel Peckham

I envisioned this shot a while ago and finally made it happen. We got to Sunset Cliff about an 45 minutes before sunset so we spent a few batteries getting some creative sunset shots. During sunset, the high winds made us second guess trying out the drone light flight. Once the sun set, the winds began to die down just a bit so we began prepping the drones. I had two Lume Cubes but didn't have the phantom brackets. At first, we were trying to see how I could strap them to my Phantom 4 but there wasn't a secure spot we could tape them too. Daniels Phantom 3 had a bottom gimbal protector bracket which seemed to work best. We taped the Cubes to the bottom bracket and secured the bracket to the Phantom legs with some extra gaffe tape.

About 25 minutes after the sun went down, we took the Phantom 3 with lights up and over the hole. Flighting some minor gusts of wind, Daniel flew the Phantom below the rim of the hole. The idea was light up the walls right below the rim so it would create some rim light from the inside out. Once in position I flew the Phantom 4 directly above and began adjusting settings on the app. The drone lights were only able to light up a small portion of the walls at a time so we had to take multiple shots at different angles in order to light the entire hole. 

Below are three images that we shot at ISO 1600 F2.8 1/2 second exposure. In order for us to maintain clarity of the rocks and brush around the hole, we had to increase shutter speed and ISO. As you can see below, the 3 shots were created to highlight the inner rim of the hole. The dot is the middle of the circle is Phantom 3, lighting up the side walls.

Below is the three images composited into one photo with a little bit of post precessing done in lightroom. 

In order to get a lot of light and motion of the water at the bottom of the hole, we had to adjust the Phantom 4 settings again. This time we lowered the ISO to 100 and slowed the shutter to 6 seconds. This gave us a lot of motion and details of the water and rocks at the bottom. Because the shutter was so slow at 6 seconds, it of course made the brush and outer hole area very blurry. 6 seconds was way to long at the distance we were at to get a clear images. Luckily for us we only wanted the center water portion to be clear and bright.

After some post process and compositing, the final photo came out better than I could have imagined. The final photo is composed of 4 different lighting and long exposure shots composited to one. I've used off camera lighting a lot on land, but with new gadgets like the lume cube and phantoms, light painting has entered an entirely new dimension.
 

FINAL COMPOSITION

Special thanks to Daniel Peckham, Lume Cube and DJI. Hope you enjoyed this detailed write up on how we shot the Sea Cave. Feel free to email or comments if you have any questions.